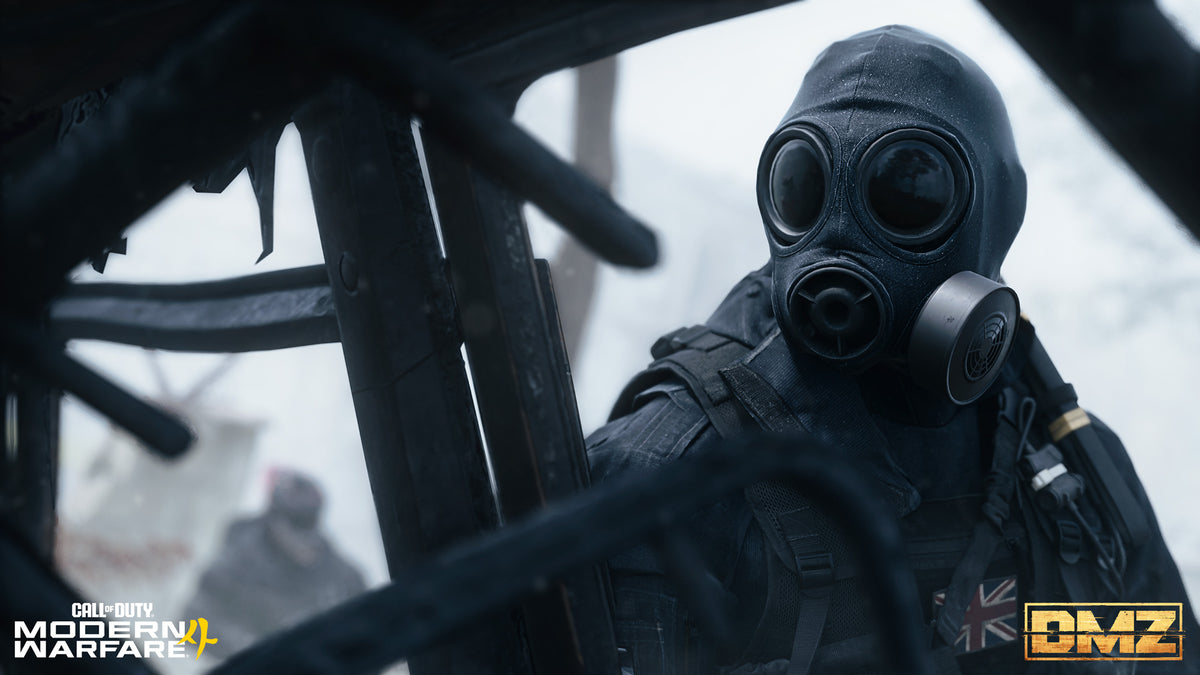
Your first run
- At the FOB, your base, open your Survival Kits.
- Pack armor, a backpack, a gun and a Medkit.
- Deploy: Dynamic Ops, free Ground infil, Free Loadout.
- Loot containers, finish an op and stay quiet.
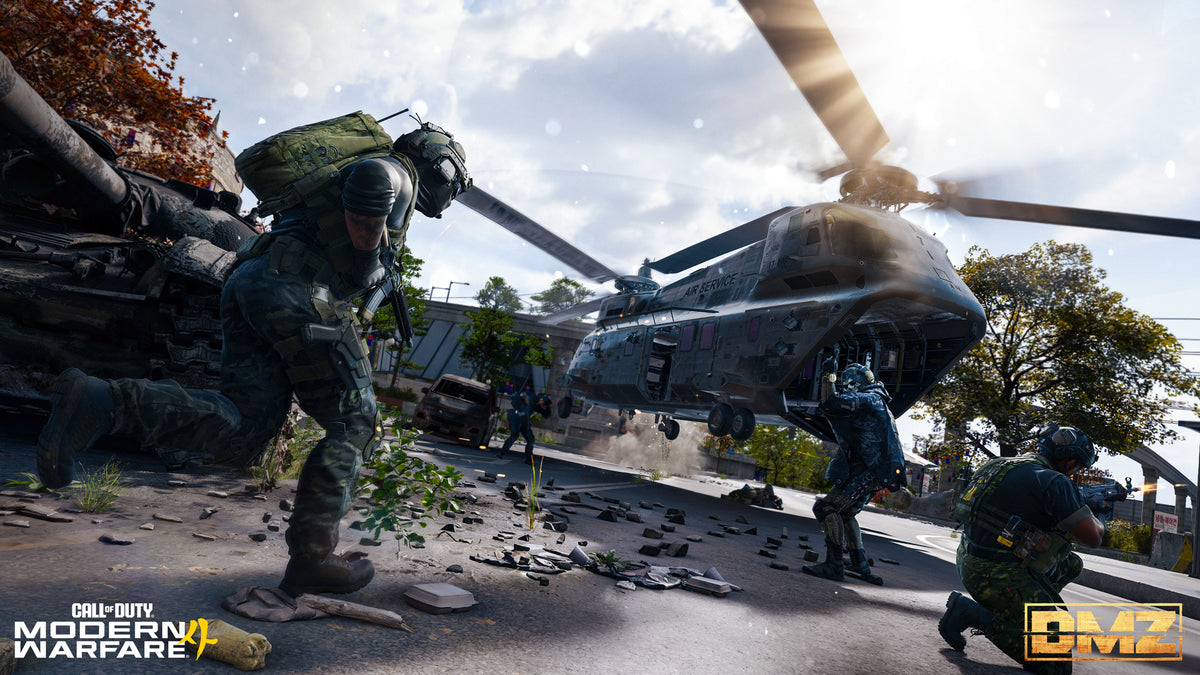
- Get out (exfil) at green smoke: call the helicopter, hold the spot.
- Read your After Action Report. XP counts even if you die.
What MW4 DMZ is
DMZ is a risk-and-reward mode inside Call of Duty: Modern Warfare 4. Every run (the guides call it a deployment) starts with you dropping in and ends with you reaching an extraction point. In between you scavenge for loot, take on objectives, and deal with enemy soldiers and rival players.
Make it out and your haul is yours. Go down first and you lose nearly everything you were carrying.
It all happens in the Hajin Exclusion Zone, set in Korea. The western wilderness used to be North Korea and the rest was South Korea.
Between runs you go back to your base, the FOB, and that's where your permanent progress lives. Your levels, your gear and your unlocks all carry over, so even a bad night moves you forward.
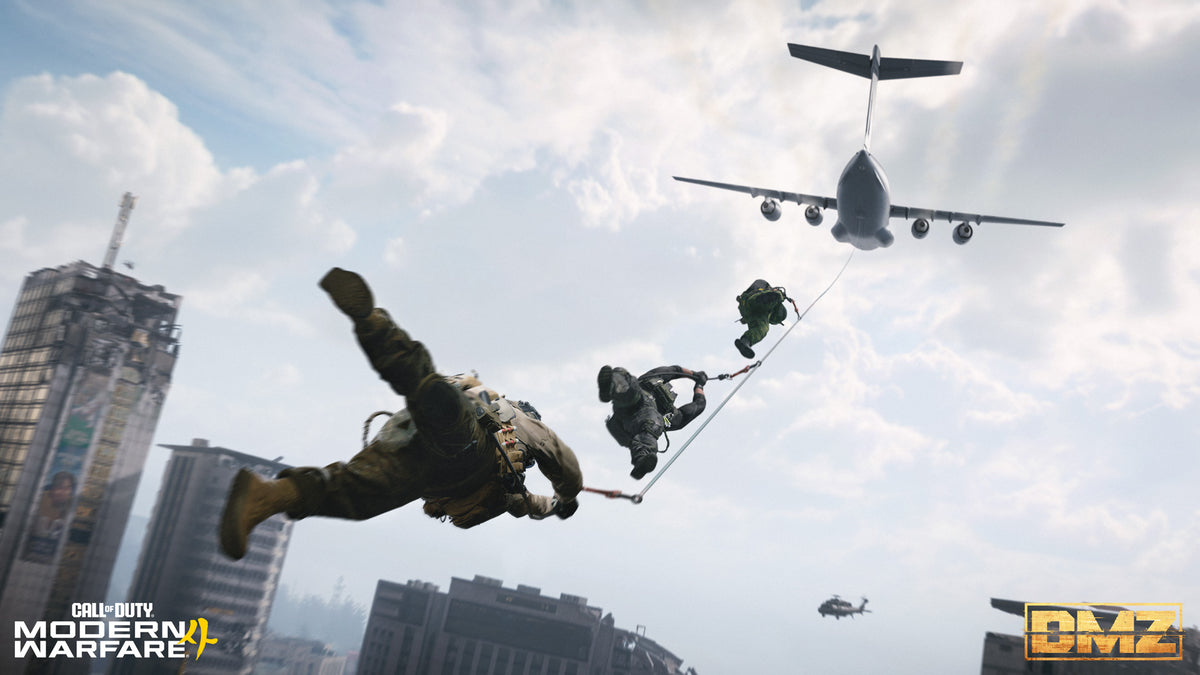
Release dates and Early Access
To play early you need a digital pre-order or pre-purchase of the Standard Digital or Vault edition.
DMZ is a mode in Modern Warfare 4, and the official guides don't describe a separate free version.
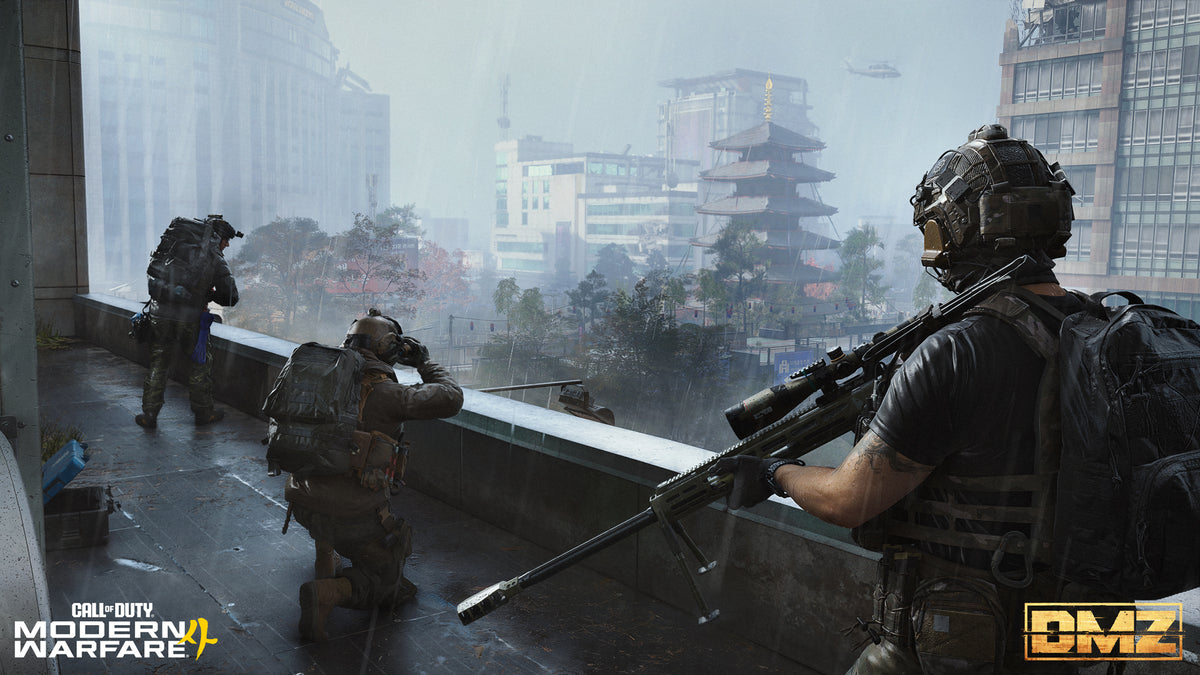
Platforms and editions
| What | Detail |
|---|---|
| Platforms | Xbox Series X|S, Xbox on PC, PlayStation 5, Battle.net, Steam, Nintendo Switch 2 |
| Vault: Operator slots | 3 Active Duty slots instead of 2 |
| Vault: Deployment Kit | Two each of Weapon Insurance Contract, Operator Rescue Beacon, Fulton Drop Marker, Medium Backpack and 2-Plate Carrier |
| Vault: Signature Weapon Collection | Weapon Blueprints for DMZ, each with five attachments plus an Apex attachment (the Combat Knife aside). Lose one and it's cheaper to buy back at the Gunsmith. |
The FOB on day one
The FOB (Forward Operating Base) is your home between deployments. You drop off loot, gear up and pick up Orders there, and all your permanent progress lives there.
Nine stations are open from the start. Five more unlock as you level, beginning with the 3D Printer at DMZ Level 2.
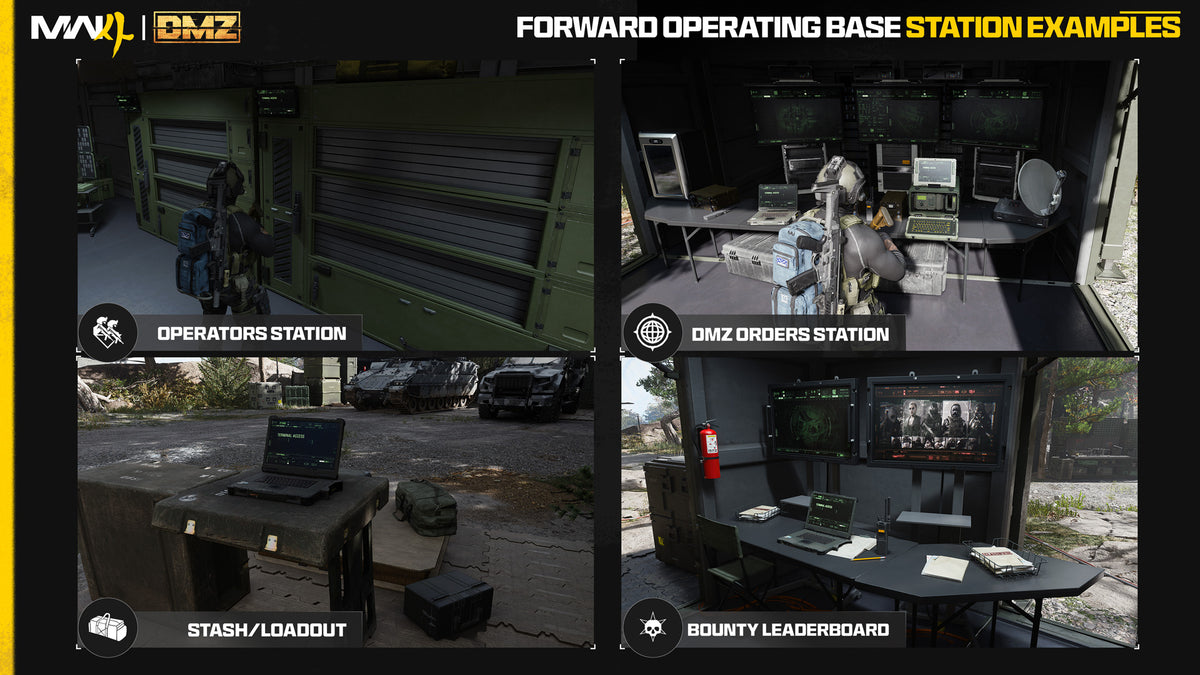
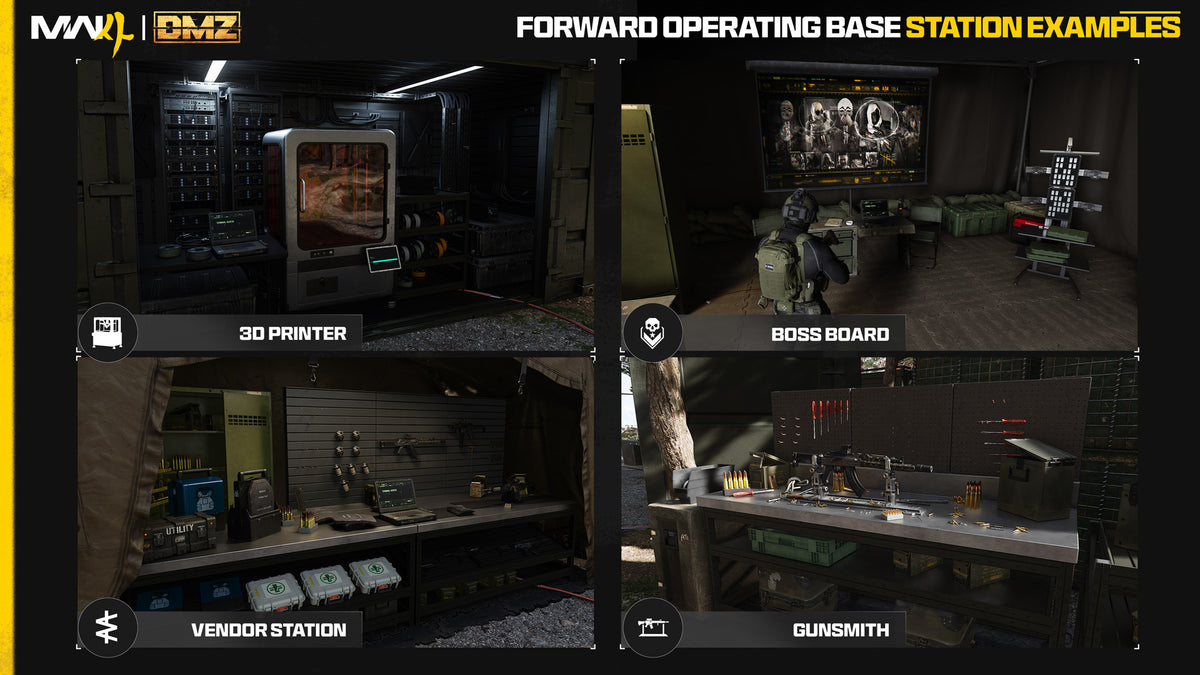
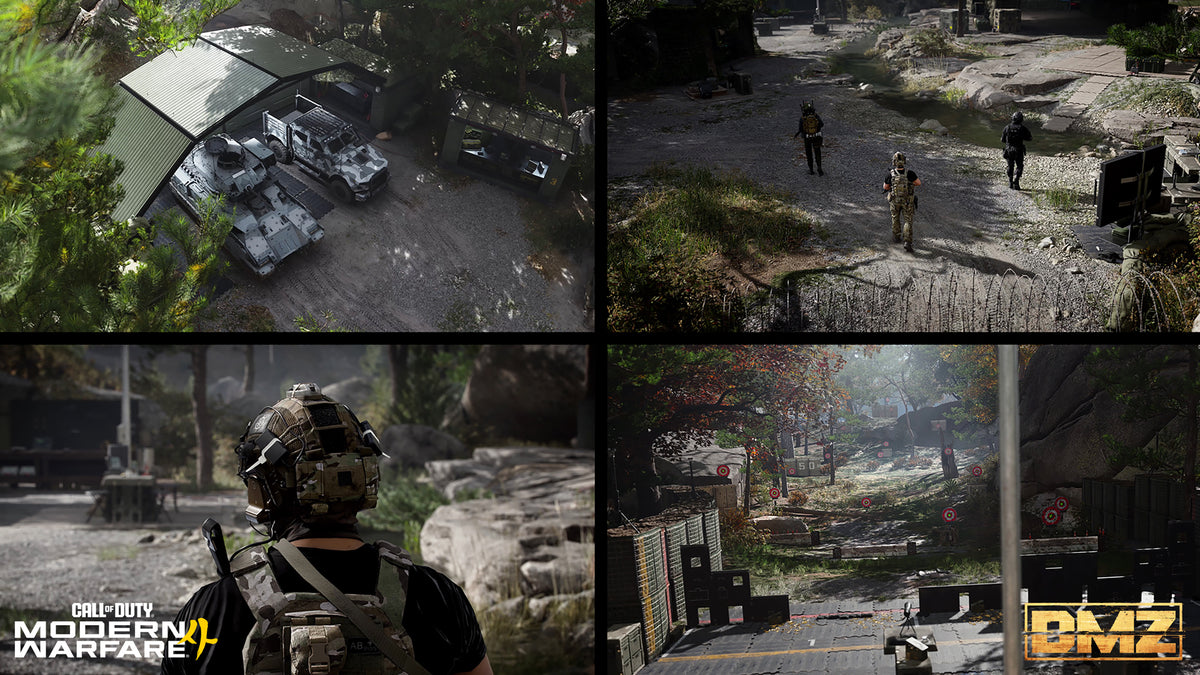
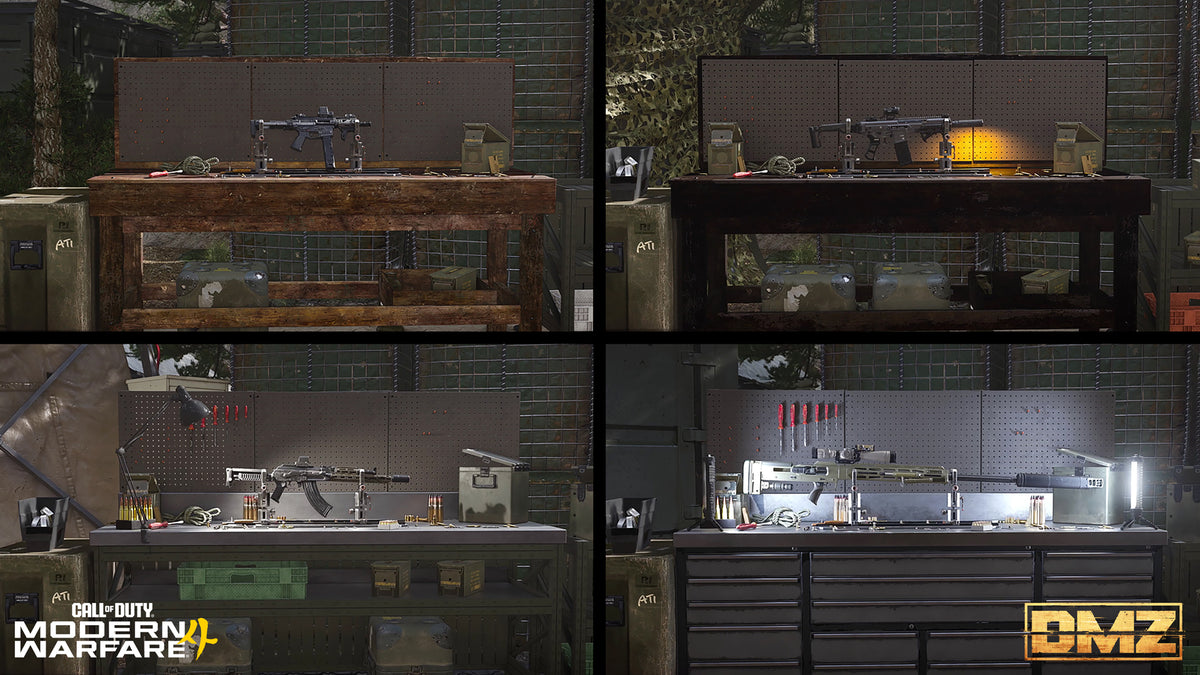
Orders and the Firing Range
DMZ Orders are your guided missions, sorted into pages. They teach the mode, move the story along and pay out resources, loot and cash. Read them before every deploy, because you can often finish an Order and a mission together.
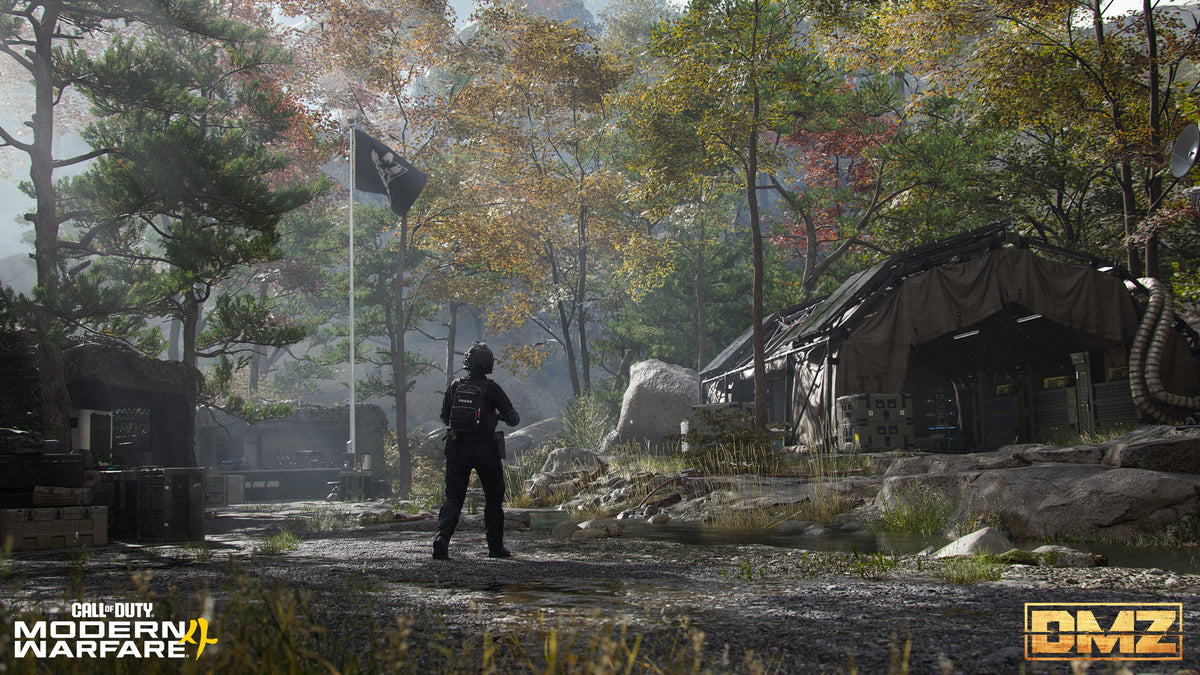
The Firing Range sits in a wooded grove between the Gunsmith and the Vendor. Test any gun from your Loadout there, especially the optic, on targets from under 10 m to past 100 m.
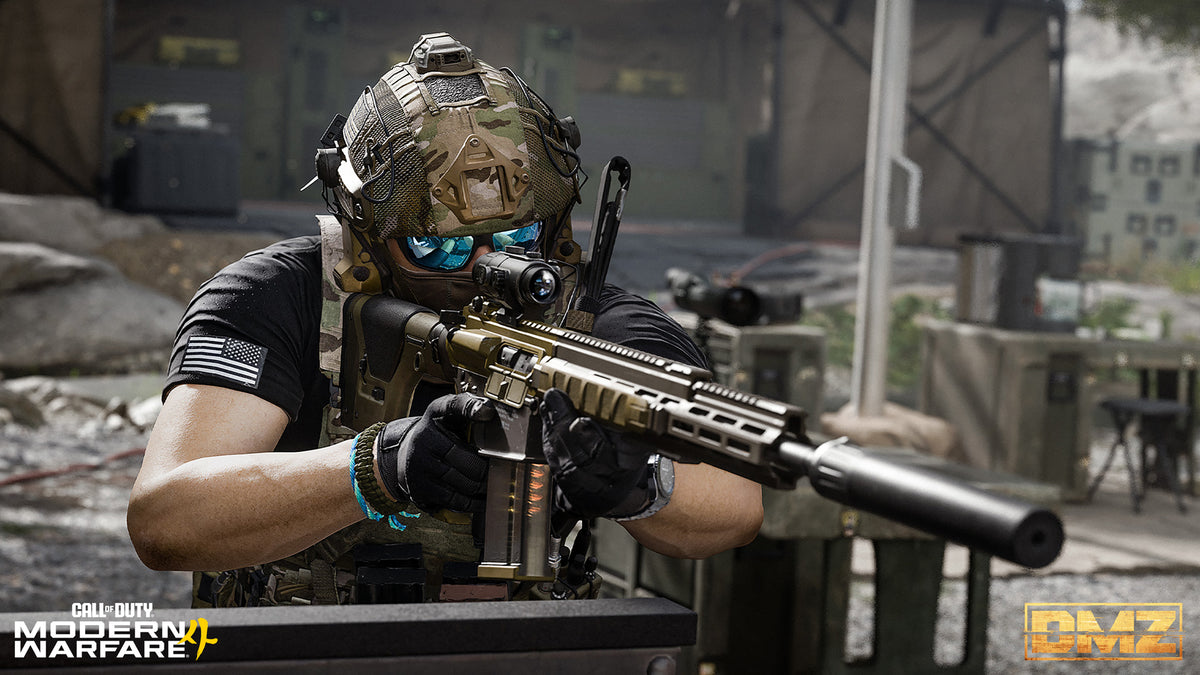
FOB stations and when they unlock
| Station | Unlocks at | What it does |
|---|---|---|
| Operators (Active Duty) | Start | Recruit Operators, spend Trait Points, pick who deploys |
| DMZ Orders | Start | Guided missions that teach the mode and pay rewards |
| Stash / Loadout | Start | Shared storage, and where you build a Loadout |
| Firing Range | Start | Test guns on targets up to 100 m and beyond |
| Survival Kits | Start | Themed loot packs you open into your Stash |
| Bounty Leaderboard | Start | Top 50 Most Wanted and Top 50 Bounty Hunters |
| DMZ Progression | Start | The 1 to 70 track of recipes, stations, upgrades and skins |
| Events | Start | Limited-time challenges and unlocks |
| Deploy | Start | Where every run begins |
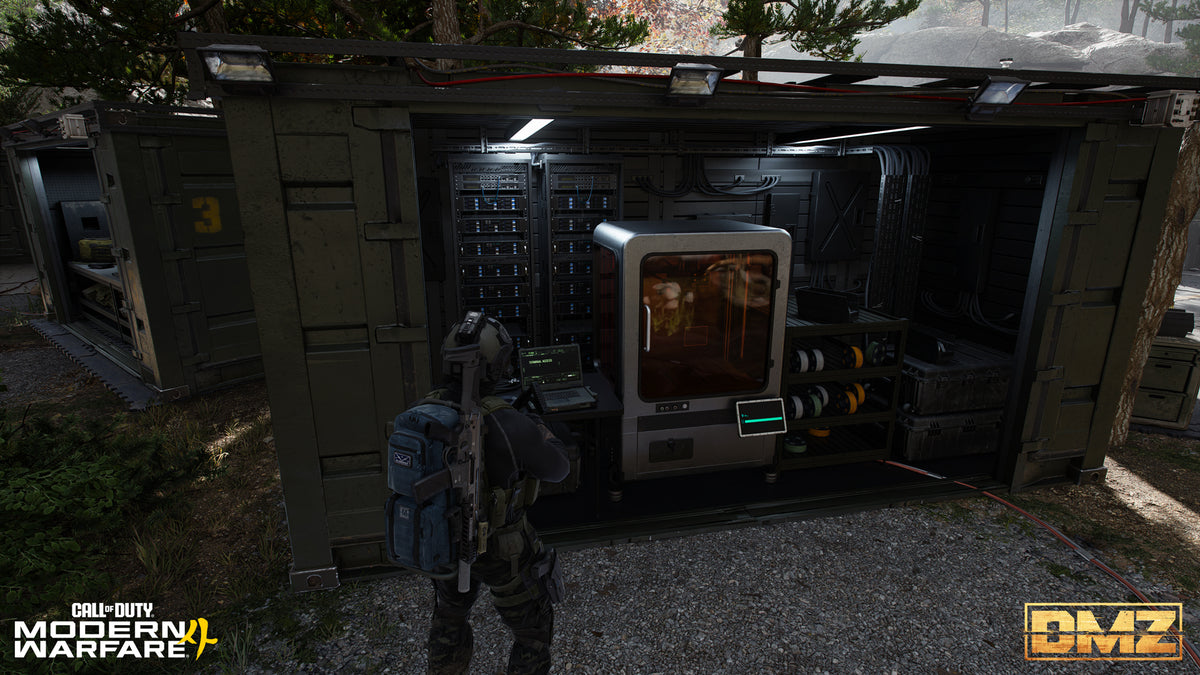
| 3D Printer | DMZ Level 2 | Craft gear and ingredients, and upgrade FOB stations |
| Boss Board | After your 2nd Order | Lieutenant intel, Commander info, boss progress |
| Vendor | DMZ Level 5 | Guns and items for DMZ Cash; the stock changes over time |
| Gunsmith | DMZ Level 10 | Build and mod guns with DMZ Cash |
| Dog Tag Case | DMZ Level 20 | Display player Dog Tags |
FOB upgrades and level rewards
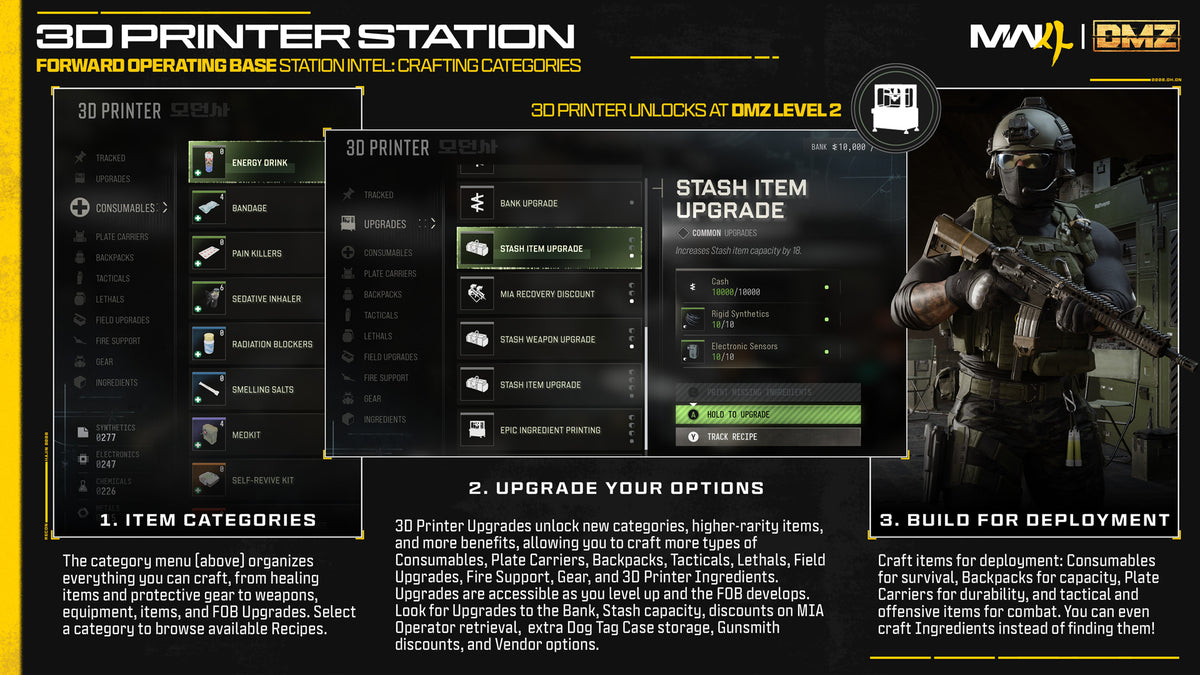
Most upgrades are made at the 3D Printer, and each one takes several prints. Valuables you loot, the ones with a gem icon, can be sold for cash or spent here.
| Upgrade | Effect |
|---|---|
| 3D Printer | Print new equipment types and rarer ingredients |
| Active Duty | One more Operator slot |
| Bank | Room for more DMZ Cash |
| Gunsmith | Discounts on weapon purchases |
| Stash slots | More item slots |
| Weapon Stash slots | More weapon slots |
| MIA recovery | Cheaper rescues (printed) |
| Dog Tag Case | Higher bounty payouts and more slots (printed) |
| Vendor | More weapon offers and item slots |
| Level rewards | Recipes, Operators and skins, ingredients, Survival Kits and Fire Support |
Operators, Dog Tags and Traits
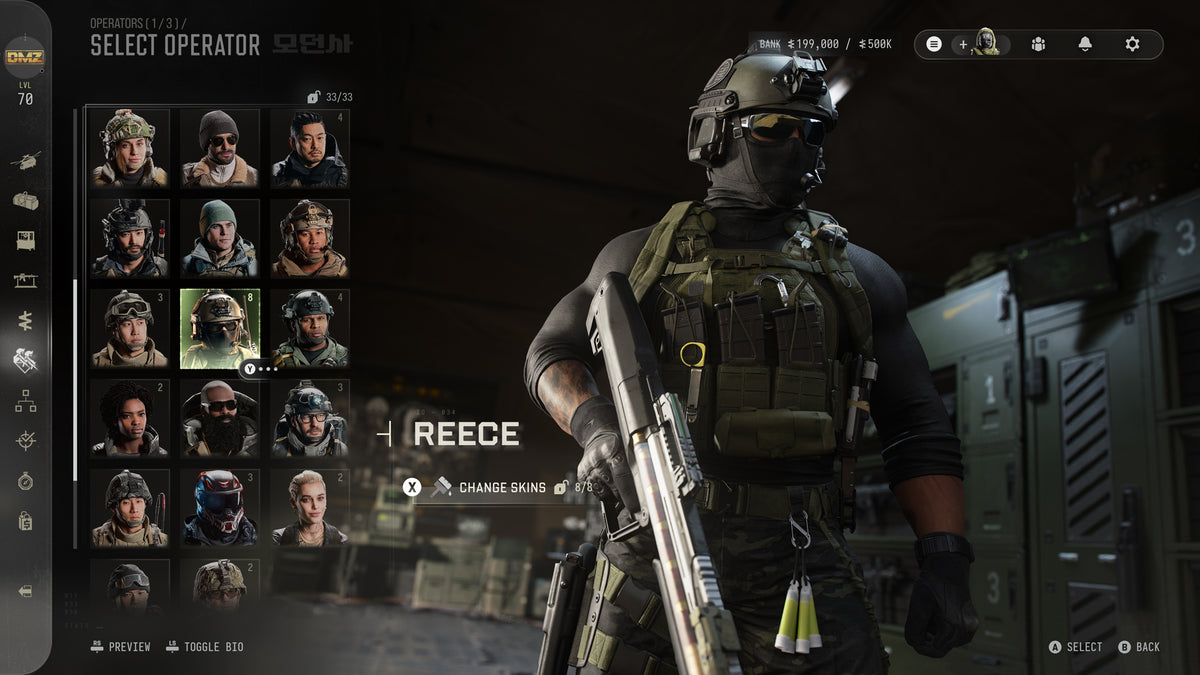
An Operator is the character you deploy as. You start with two Operator slots (three with the Vault edition), and DMZ levels give you one more.
Recruit an Operator into a slot and it stays there until you dismiss it, and the same Operator can't sit in two slots. The look is only cosmetic; the Traits you earn are what count.
Dog Tag ranks
Each Operator levels its own Dog Tag from Steel I up to Onyx III. That's 18 ranks, and every rank gives one Trait Point. This is separate from your DMZ player level.
All 18 ranks
| Tier | Ranks | Trait Points by the end of the tier |
|---|---|---|
| Steel I to III | 1 to 3 | 3 |
| Bronze I to III | 4 to 6 | 6 |
| Silver I to III | 7 to 9 | 9 |
| Gold I to III | 10 to 12 | 12 |
| Damascus I to III | 13 to 15 | 15 |
| Onyx I to III | 16 to 18 | 18 (the maximum, ready to Prestige) |
How Trait trees work
Each Trait Point buys a perk in one of three trees: Warfighter, Scout or Survivalist. Picks are permanent until a Prestige resets them, so spend with a plan.
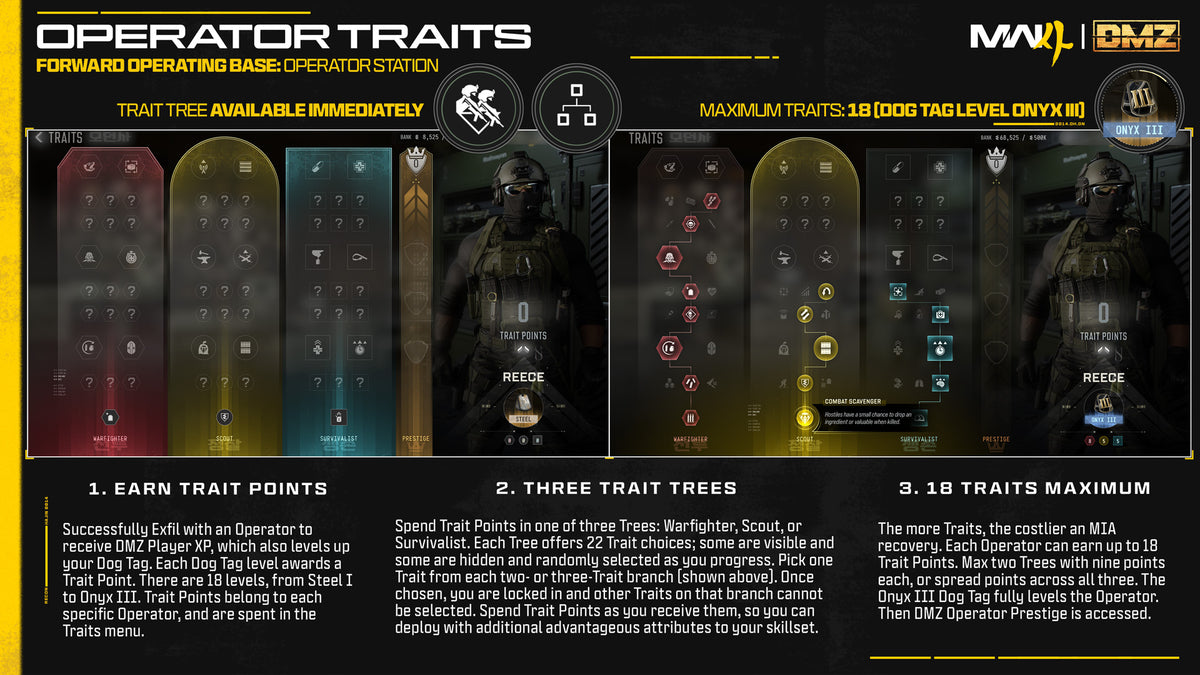
Trait tree rules
| Rule | Detail |
|---|---|
| Size | 66 Traits, 22 per tree: 6 Major ones that are always visible and 16 Minor ones that appear at random once you unlock the branch below |
| First point | Buys that tree's random Minor Trait |
| Branches | Two Major or three Minor options each; pick one to open the next branch |
| Per tree | At most 9 picks: the starting Minor, 3 Major branches and 5 Minor branches |
| Per Operator | At most 18 points: two full trees, or a spread across all three |
| Rescue cost | The more Traits an Operator has, the more an MIA rescue costs |
The 21 known Traits
Only 21 of the 66 Traits are public so far, seven per tree.
Warfighter
- Adrenaline BurstA kill refreshes your tactical sprint
- Equipment ProfessionalLethals and Tacticals slowly recharge
- Combat ResistanceLess explosive damage and fewer enemy Tactical effects
- Viper SenseHides you from thermal optics and AI targeting
- Quick FixHealth comes back faster after a kill
- PossumOnce a match, revive yourself from death into Last Stand
- Adaptive RestockHostiles drop one extra item
Scout
- InvestorA little more cash when you extract
- Hostile LooterAI sometimes drop an Uncommon ingredient, rarely a Rare one
- Container LooterA chance of an extra item in containers
- Thermal PaddingHides you from UAVs
- UAV UpgradeLonger, wider UAVs that grow into Advanced UAVs
- OverwatchUAV towers you activate never expire
- Field CraftingCraft from Common resources while deployed
Survivalist
- Air SuperiorityUAV towers and SAM sites last longer
- Faster ReviveRevives go quicker
- Consumable DurationConsumables last longer
- Impact SmokesYou drop smoke when you go down
- Free ReviveYour first wound repairs itself
- Numb the PainPainkiller and Smelling Salts effects apply on revive
- Die HardReaching an exfil in Last Stand calls it in
Your first loadout
For a first run, bring at least a Plate Carrier (an armor vest), a backpack, a weapon and a Medkit. Before that, open your Survival Kits: free loot packs that go straight into your Stash, the storage all your Operators share.
Anything in your backpack that isn't in a Secure Slot, a protected backpack slot, is lost if you don't exfil. The Medium Backpack adds Secure Slots, which makes it the first thing I'd chase.
Resources never use a slot, but 3D Printer Ingredients do, so empty your backpack into the Stash after every exfil.
I play on my Expel controller, and my controller settings are on the site if you want a place to start.
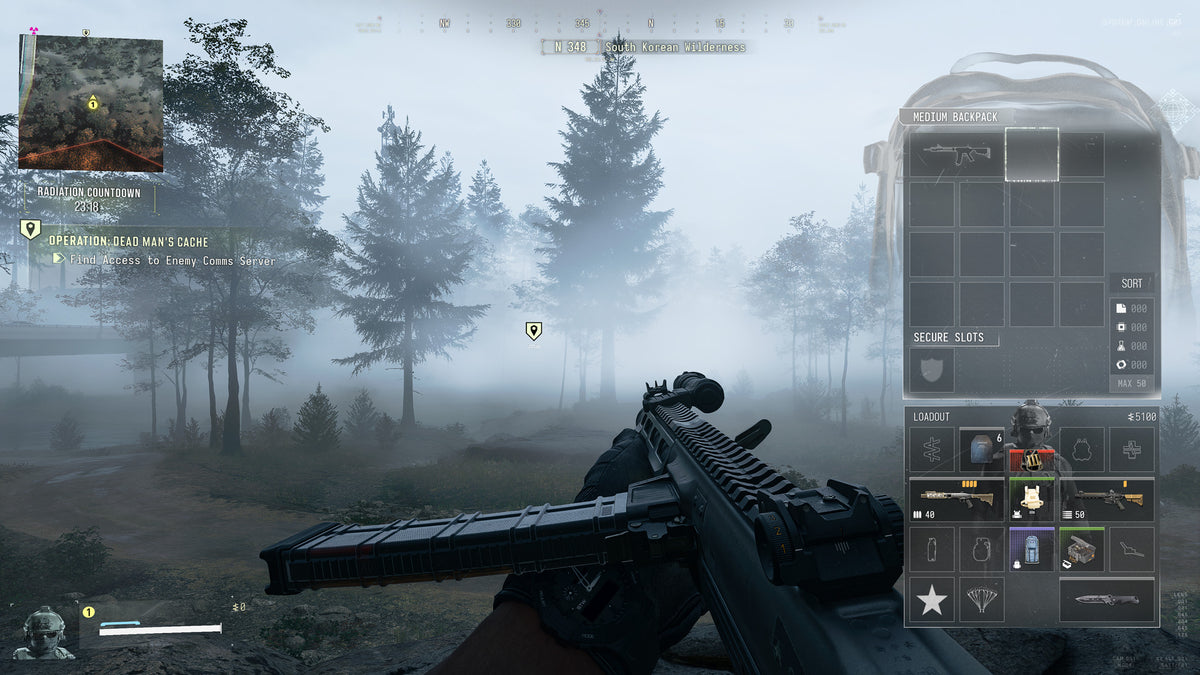
Survival Kits
Unopened kits stack with no limit, and they come from levels, Orders, Missions and Events. The guide gives these five as examples.
| Kit | Contents |
|---|---|
| Deployment Kit | Essential supplies |
| Triage Kit | Medical gear |
| Armor Kit | Protective items |
| Equipment Kit | Equipment |
| SERE Kit | High-risk recoveries |
Loadout slots and Stash rules
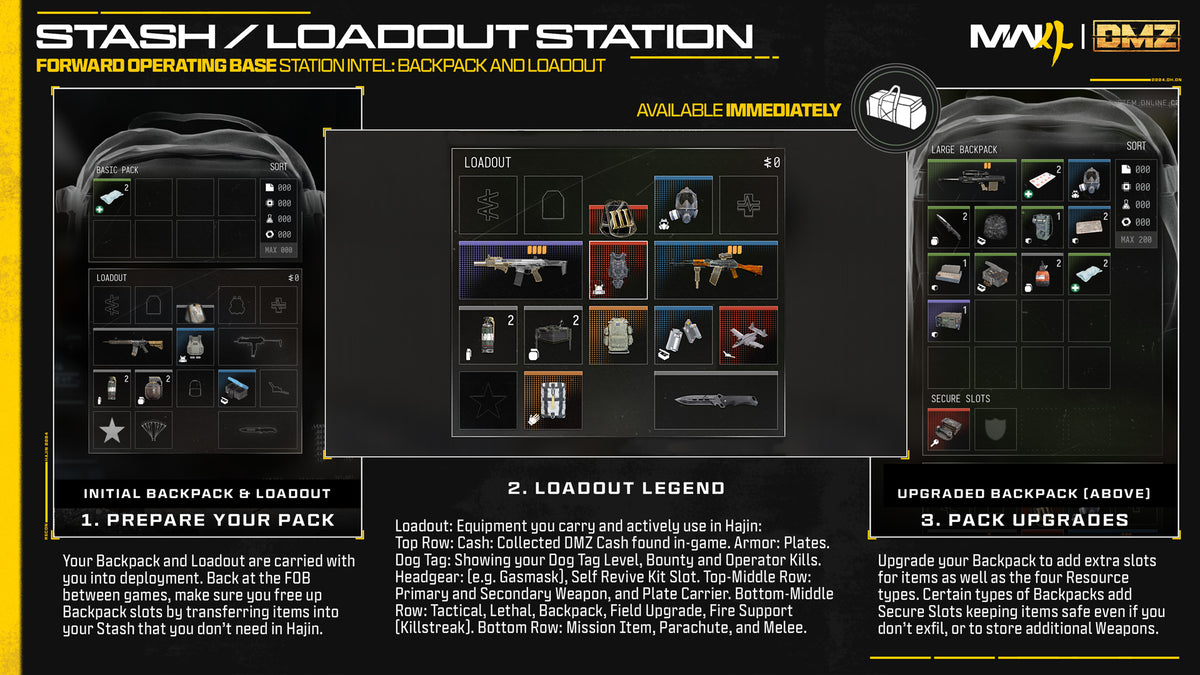
| Slot or rule | Detail |
|---|---|
| DMZ Cash and Armor | Both start empty. Cash you find goes to the Bank on exfil, and armor fills at infil; extra armor needs a Trait or the Armor Box Field Upgrade |
| Dog Tag, Plate Carrier, Weapons 1 and 2, Parachute and Melee | The Dog Tag shows the Operator's level, Bounty and player kills; then an armor vest, two weapon slots that take a primary or a secondary, and a parachute and melee slot (melee takes knife variants and blueprints) |
| Headgear and Self-Revive | Gas masks and NVGs, plus a slot of its own for Self-Revive kits |
| Tactical, Lethal, Backpack, Field Upgrade, Fire Support | Quick-use gear; spares go in the backpack |
| Mission Item | Fills itself with Story Mission and Dynamic Op items, so they never cost backpack space |
| Stash size | 40 items plus 12 weapons at the start, more through upgrades; it sorts by type and then rarity unless you flip it |
| Basic Pack | 8 slots with no backpack, and smaller items stack inside a slot; every backpack has a resource pouch |
| On death | Backpack items outside Secure Slots are lost, and a recovered Operator comes back without gear |
| Rarity | Common (gray), Uncommon (green), Rare (blue), Epic (purple), Legendary (orange) and Ultra (red), lowest to highest |
Deploy menu and infil
For a first run, I'd pick Dynamic Ops, Ground infil and the Free Loadout. There's nothing to lose.
To start a run, walk to the razor wire and the transport helicopter at the FOB and open Deploy. There are three ways in.
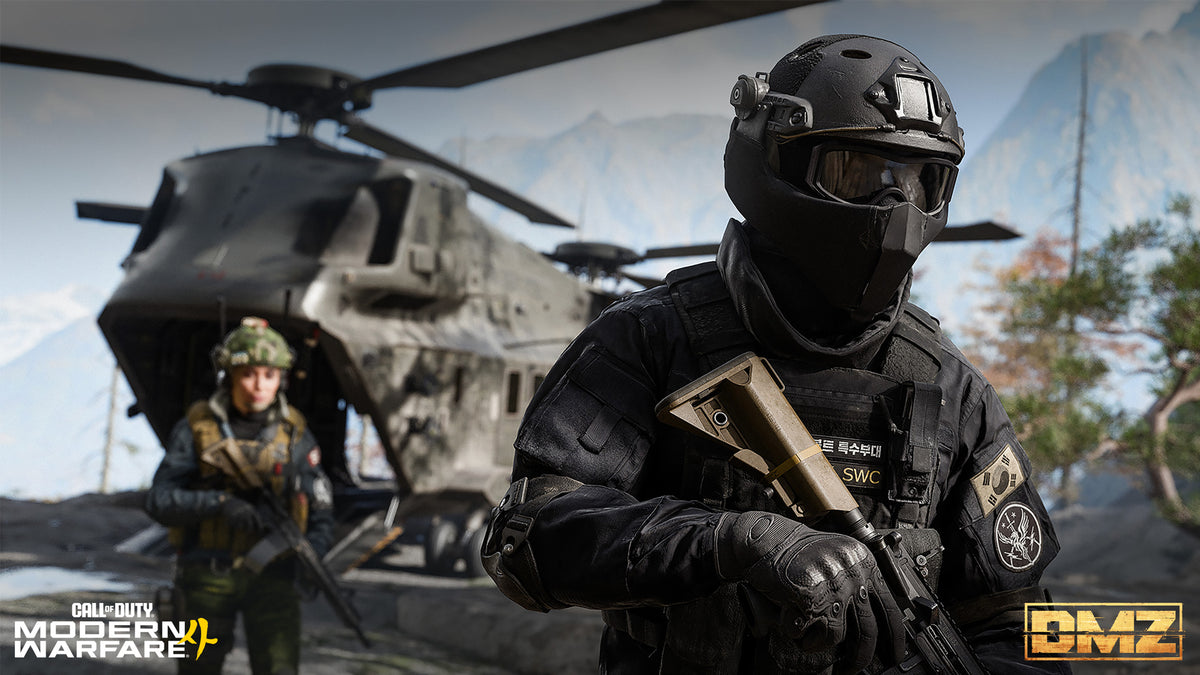
Story Missions
Missions that follow the plot, a power vacuum in Hajin. You get a briefing and rewards, usually high-value gear and cash, and you can replay missions or pick one at random.
Dynamic Operations
Straight into an op. Each one you finish sends a Supply Drop, and the drops get better every time.
Free Roam
No mission. It's the mode for hunting printer ingredients and Wanted players.
Infil
For Dynamic Ops and Free Roam you also pick an infil, which is how you arrive. Story Missions have their own setup.
The vehicle and air infils also need Story Mission unlocks. Pack a Parachute for the Helicopter and Cargo Plane.
Ready Up, solo or squad
Ready Up is the last screen. The Free Loadout gets you in fast, and you keep it if you extract. You can also edit your Loadout, swap Operators and turn Squad Fill on or off.
Squad Fill adds two random players, which is handy when your friends are offline. If you'd rather have a real squad, you can find a squad in the Expel Discord.
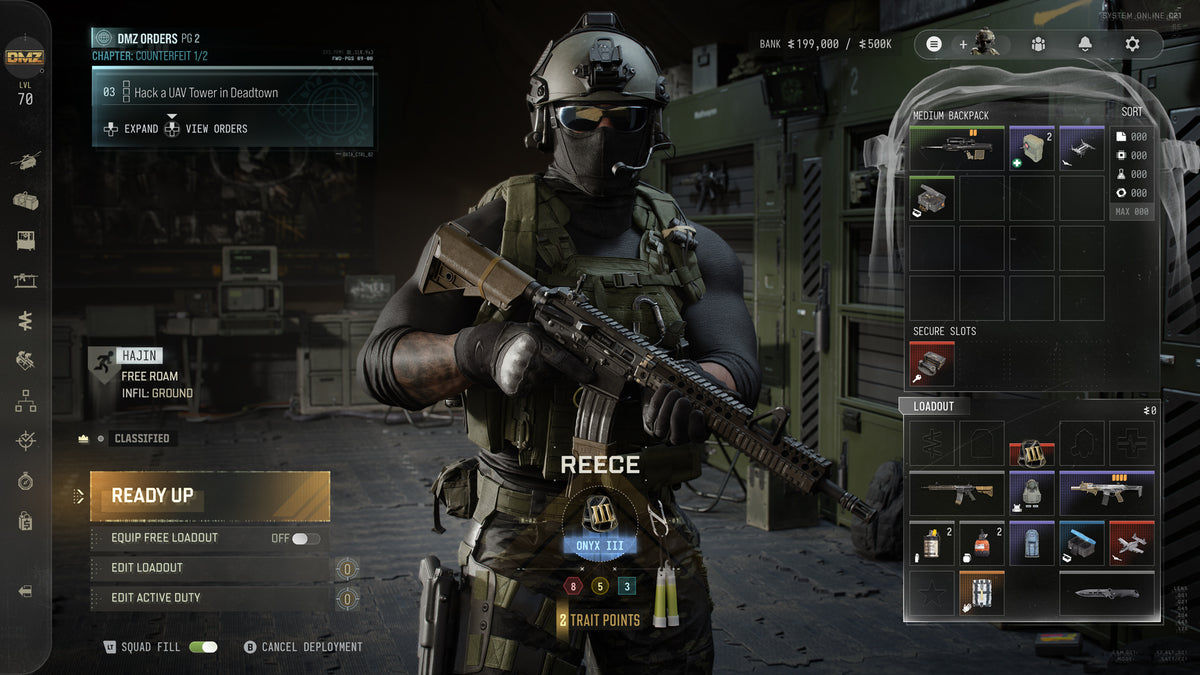
Reading the HUD and Tac-Map
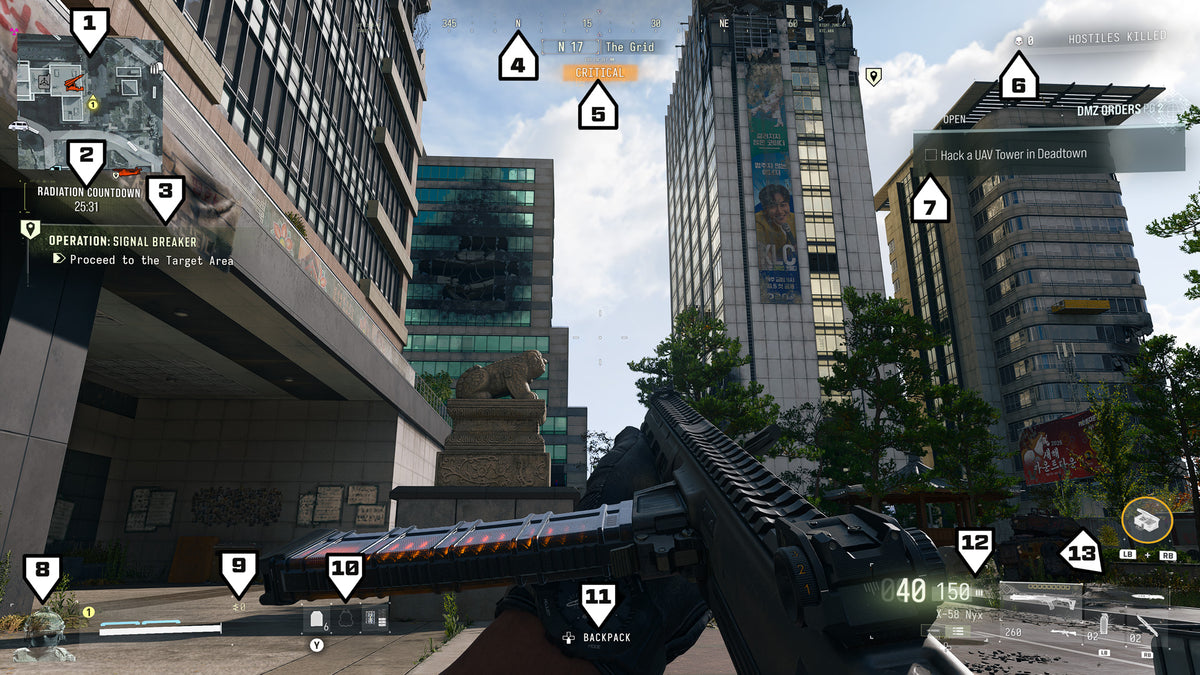
After you land, find cover first and then look around the screen.
Top middle
The compass (1 to 360), the name of the place you're in, and that place's Threat level underneath.
Time Remaining
When the radiation storm gets worse. When it runs low, head for an exfil.
Left and right
Your squad's missions and ops on the left, and your DMZ Orders on the right.
Hostiles Kill Count
A meter that fills as you kill AI. Fill it and a Hunt Squad comes for you, and you're Marked for Death.
Squad and weapon panels
Your team's health, plates and cash, and your guns' ammo and attachments.
Ping wheel
Ask another squad for a Truce or to join up. Proximity chat reaches players near you.
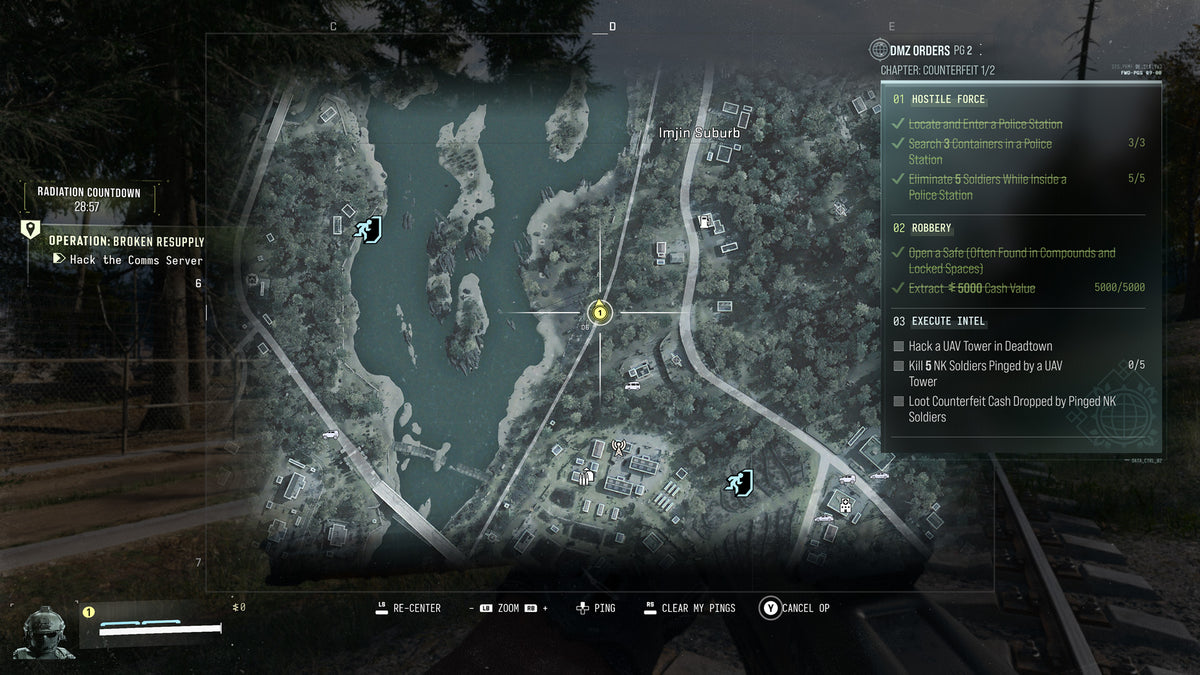
The Tac-Map shows objectives, points of interest, threat areas, enemy Compounds, services such as Clinics and Gas Stations, radiation, enemies and pings. Its grid letters run west to east and the numbers north to south, so D7 is Imjin Farmland. Every Key's description names its grid square.
Hajin: where beginners should land
Every place on the map has a Threat level, from Low up to Extreme. It only counts AI, so other players aren't part of it.
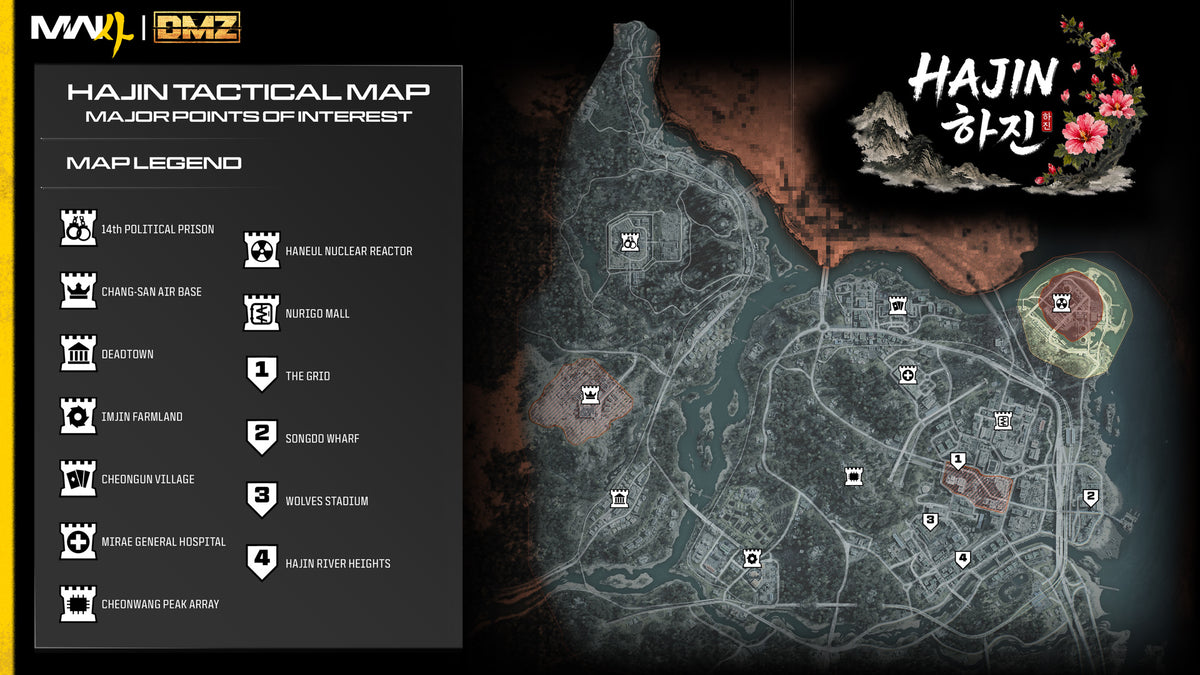
Start with Low
Imjin Farmland, Cheongun Village, Mirae General Hospital, Songdo Wharf and the streets of Deadtown. The village is Low, but the casino inside it is High.
Step up to Medium
Wolves Stadium, Hajin River Heights, Cheonwang Peak Array, NuriGO East, the Rice Mill and Deadtown's Re-Education Center.
Leave for later
The Grid (Critical, and Nenshin Tech Complex is Extreme), Chang-san Air Base (Critical, with an Extreme bunker), the Citadel inside the Prison (Critical) and the Reactor (High, plus radiation).
Threat level by point of interest
NK means the former North Korea and SK the former South Korea.
| POI | Where | Areas and threat |
|---|---|---|
| 14th Political Prison | Northwest, NK | Prison and Fortress Prison Yard High; The Citadel Critical |
| Chang-san Air Base | West, NK | Exterior Critical; Bunker Extreme |
| Deadtown | Southwest, NK | Exterior Low; Re-Education Center Medium |
| Imjin Farmland | South-southwest, SK | Exterior and Jeong Loading Dock Low; Rice Mill Medium |
| Cheongun Village | North, SK | Village, Russian Border Crossing, Outskirts and Russian Border Low; Heavenly Luck Casino High |
| Mirae General Hospital | North-central, SK | Hospital Low |
| Cheonwang Peak Array | Central, SK | Array Medium |
| Haneul Nuclear Reactor | Northeast, SK | Reactor (radiation) High; SK Border Zone Medium |
| NuriGO Mall | Northeast Hajin City, SK | NuriGO East Medium; NuriGO West High |
| The Grid | Central Hajin City, SK | The Grid, DBN Headquarters, Hanex Bank, Minsok Art School and Construction Zone Critical; Nenshin Tech Complex Extreme |
| Songdo Wharf | East Hajin City, SK | Songdo Wharf, Oamsik Turtle Island and Shoreline Station Low |
| Wolves Stadium | South-central Hajin City, SK | Wolves Stadium and Theatre Medium |
| Hajin River Heights | Southeast, SK | River Heights, South Island and Jinseo Park Towers Medium |
Map markers and building colors
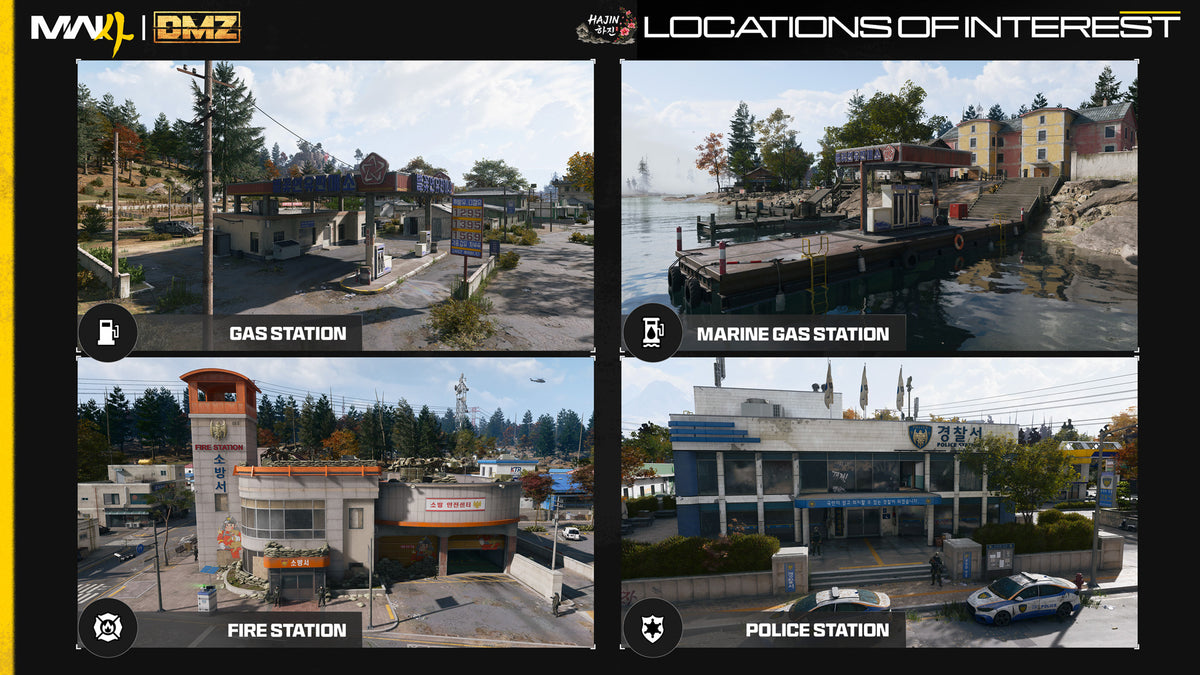
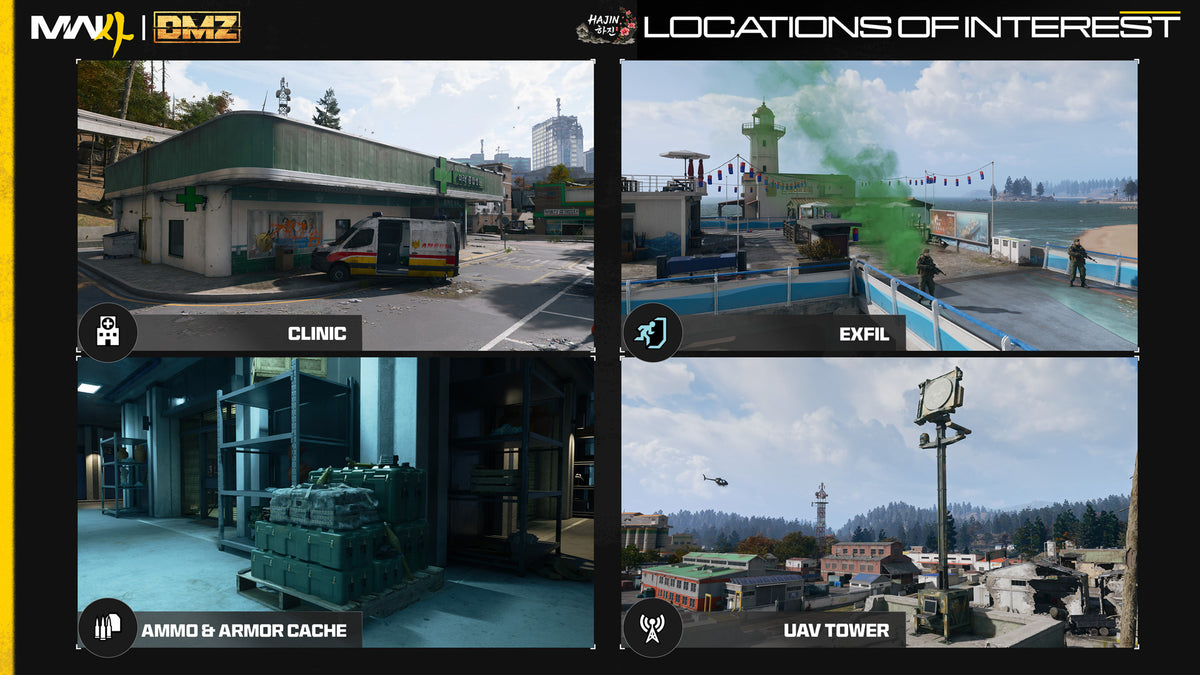
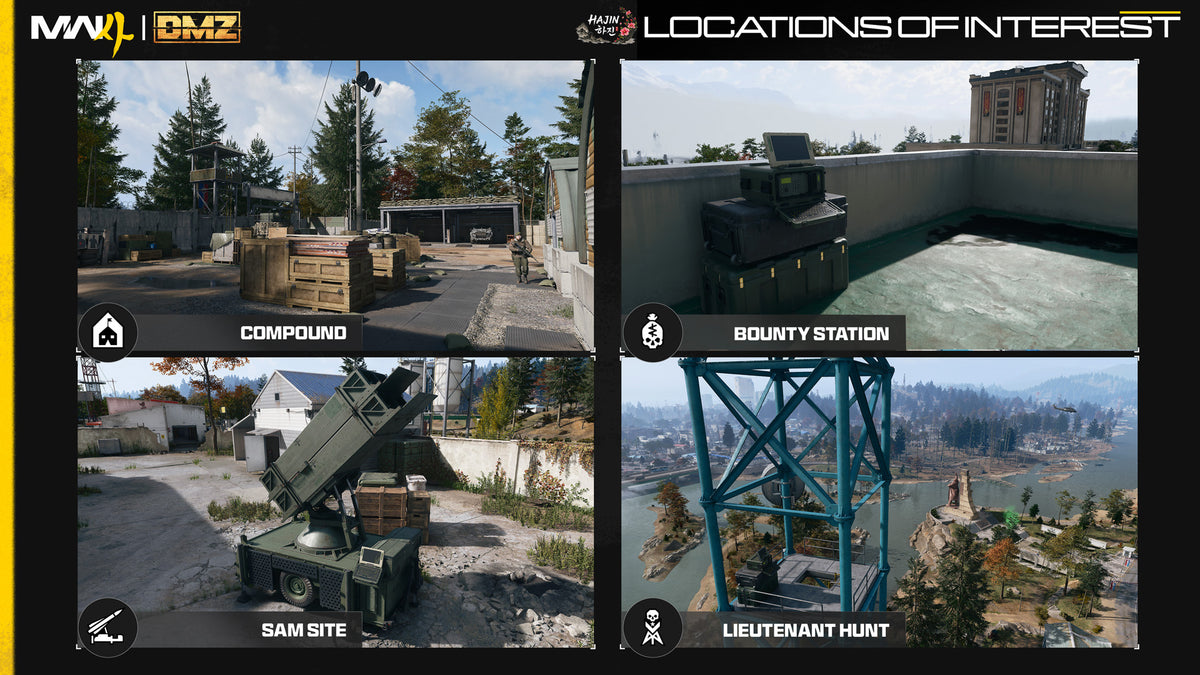
Hajin has 60 or more named locations in all. The Tac-Map marks the services and objectives below, and building colors tell you what's inside.
| Place | What it's for |
|---|---|
| Gas Station | Repair and refuel vehicles, and refill Gas Cans |
| Marine Gas Station | The boat version: a small jetty with two pumps |
| Fire Station (red) | Radiation Gear and Parachutes; expect enemies |
| Police Station (blue) | Military gear and a locked Armory |
| Clinic (green) | Medical loot; players sometimes ambush the wounded |
| Exfil | Green smoke, picked from a pool of sites |
| Ammo & Armor Cache | Ammo and plates, with a cooldown after use |
| UAV Tower | A Side Op that pays cash and reveals players and AI |
| Compound | Better loot and intel, heavy defense, armored vehicles |
| Bounty Station | A free Wanted list, paid intel, and a way to pay off your bounty |
| SAM Site | A Side Op: take it over and defend it |
| Lieutenant Hunt tower | Climb it to reveal the nearest Lieutenant |
Your first deployment: loot, Ops and threat
Loot as soon as you land. Opening containers is one of the steadiest XP sources, and it feeds your FOB. Don't only loot, though: your rating scores Objectives, Combat and Looting together, so a balanced run reaches an S.
Check every cache, locker, crate and box. A door locked from the inside means there's another way in, and rural and wooded areas hide underground entrances.
Ops and Side Ops
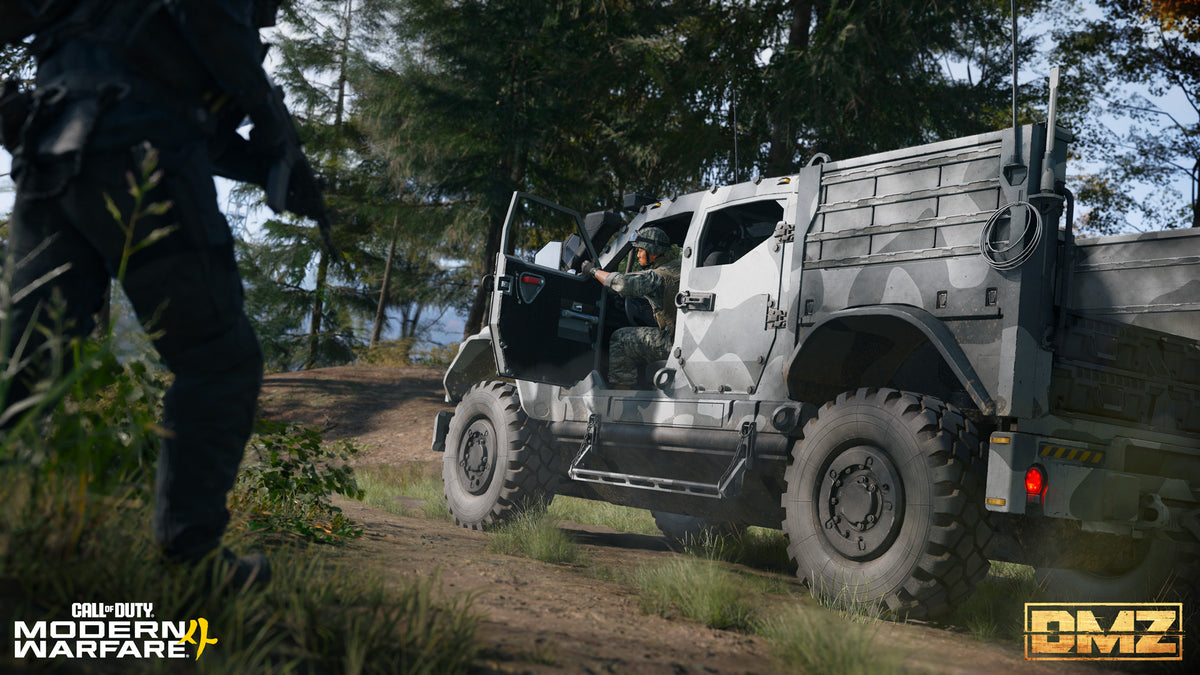
A Dynamic Op pays XP, cash and a Supply Drop. The drop goes Common, then Uncommon, then Rare for each op you finish in the same deployment, so start early.
Dynamic Ops phones out in the world let you start a new op mid-match. One to read before you accept: the Hunt Operators op sends you after a full squad of rival players.
Grab Side Ops on the way: UAV Towers, SAM sites, lost Supply Drops, trucks to repair and Lieutenant Hunt towers. They pay XP, resources or intel. Keys open special loot rooms, and a Lieutenant can drop one.
Keeping the threat low
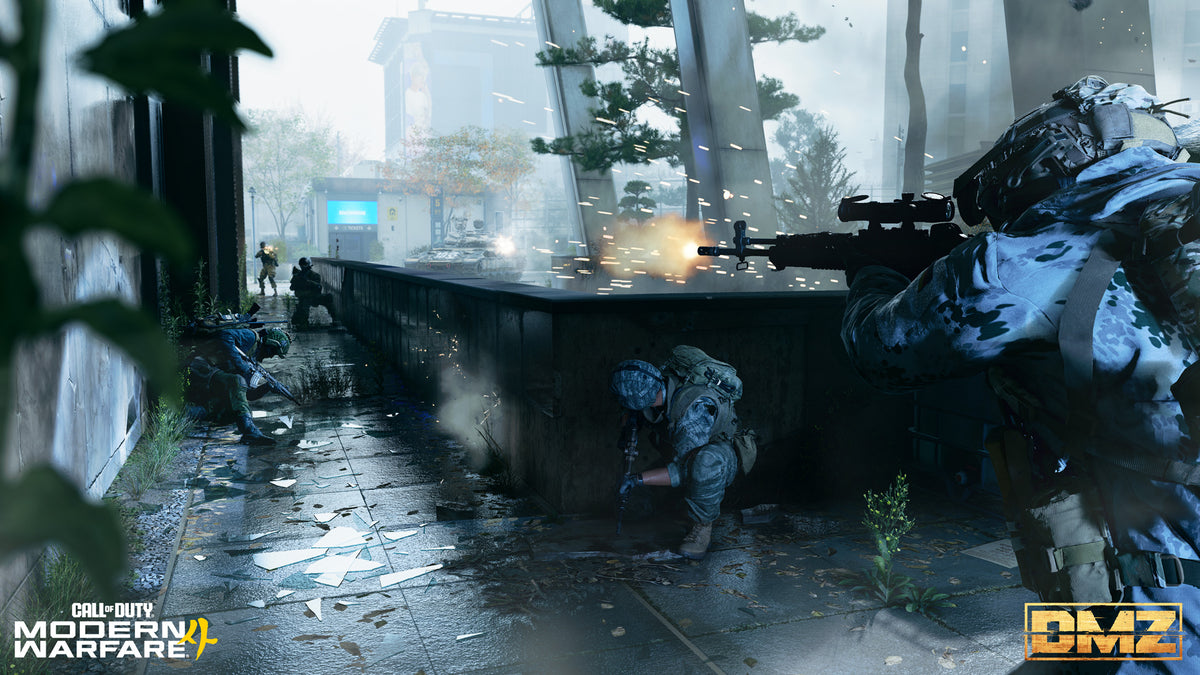
When you go loud, watch the Threat level. Break line of sight, take cover or move somewhere rural to calm it down, and use quiet kills (melee, throwing knives, suppressed shots) to keep it low. Player kills pay more XP than AI, but long AI fights still raise your Combat rating.
Resources, ingredients and valuables
| Thing | How it works |
|---|---|
| Resources | Synthetics, Electronics, Chemicals and Metals. They break down as you loot, sit in their own pouch and never use a slot. |
| 3D Printer Ingredients | Found in specific areas and extracted whole, and they take slots. Examples: Binding Catalyst (Rare), Biomaterials, Reactive Metals, Rigid Synthetics (Uncommon), Detonators and Control Units. |
| Printable components | After printer upgrades, Uncommon and Epic components such as Rigid Synthetics and Alloyed Plating |
| Valuables | Marked with a gem icon; sell them for DMZ Cash or spend them on FOB upgrades |
| Recipes | Unlock when you exfil with them and pay 5,000; they also come from DMZ levels and Orders |
| Weapon Manuals | Unlock that gun in the Gunsmith when you exfil, and pay 5,000 |
| Ingredient hints | The 3D Printer shows where each ingredient is most likely to turn up |
Who you'll meet
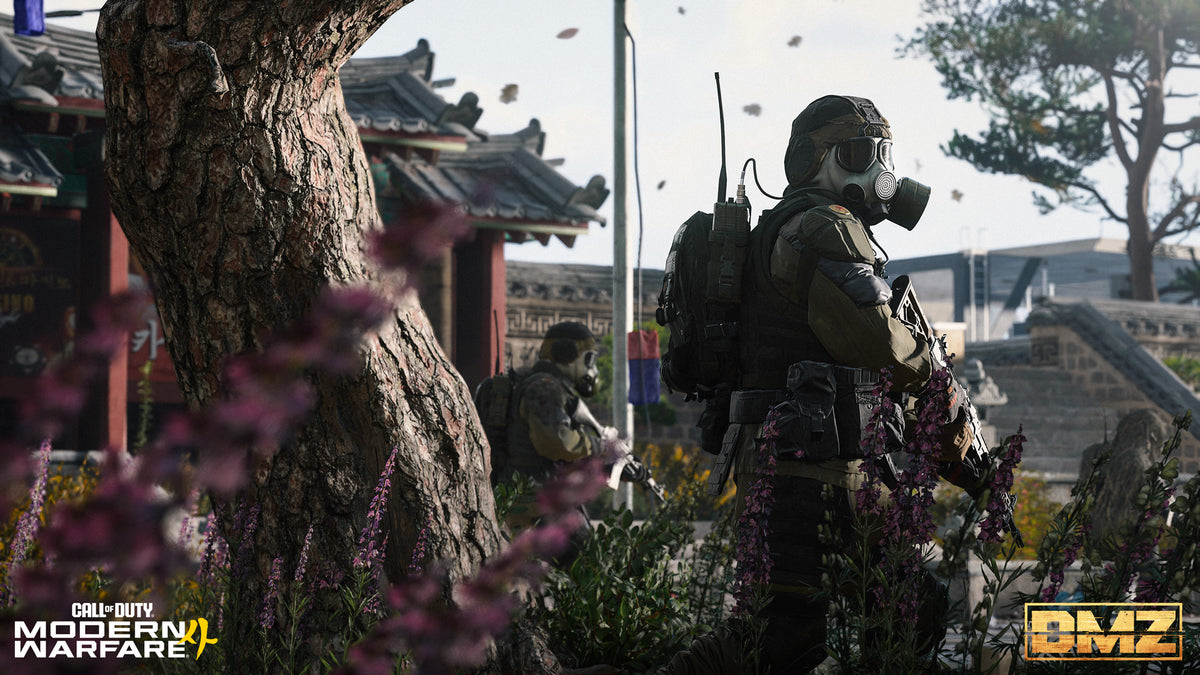
Enemies ignore you, search for you or attack depending on how threatening you look.
| Type | Detail |
|---|---|
| Tier 1 | North Korean grunts |
| Tier 2 | Armored soldiers |
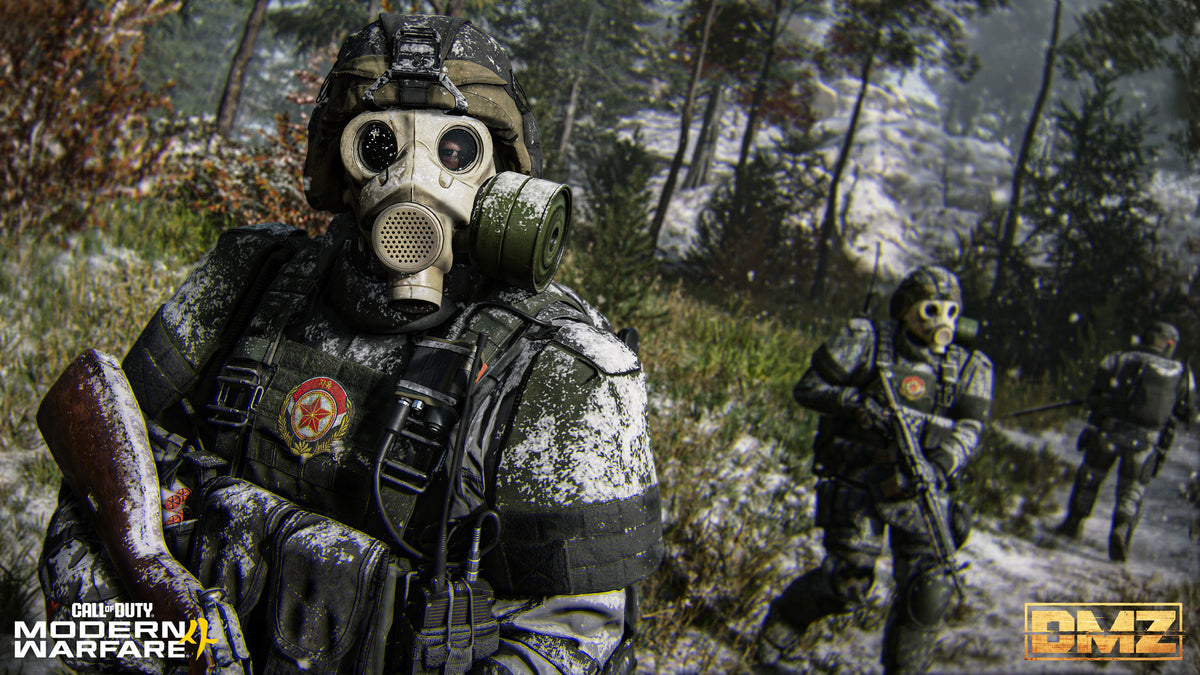
| Tier 3 | Armored soldiers in gas masks |
| Tier 4 | Faceless armored soldiers |
| Drones | Autonomous Combat Drone Swarms and Autonomous LMG Combat Drones |
| K9 | Autonomous robot dogs, usually underground, that sprint at you |
| Air and road | Attack helicopter patrols and road convoys |
| Bosses | Lieutenants, and the Commanders Colossus, Deathstalker and the main NK battle tank |
| Players | Rival Operators |
Vehicles
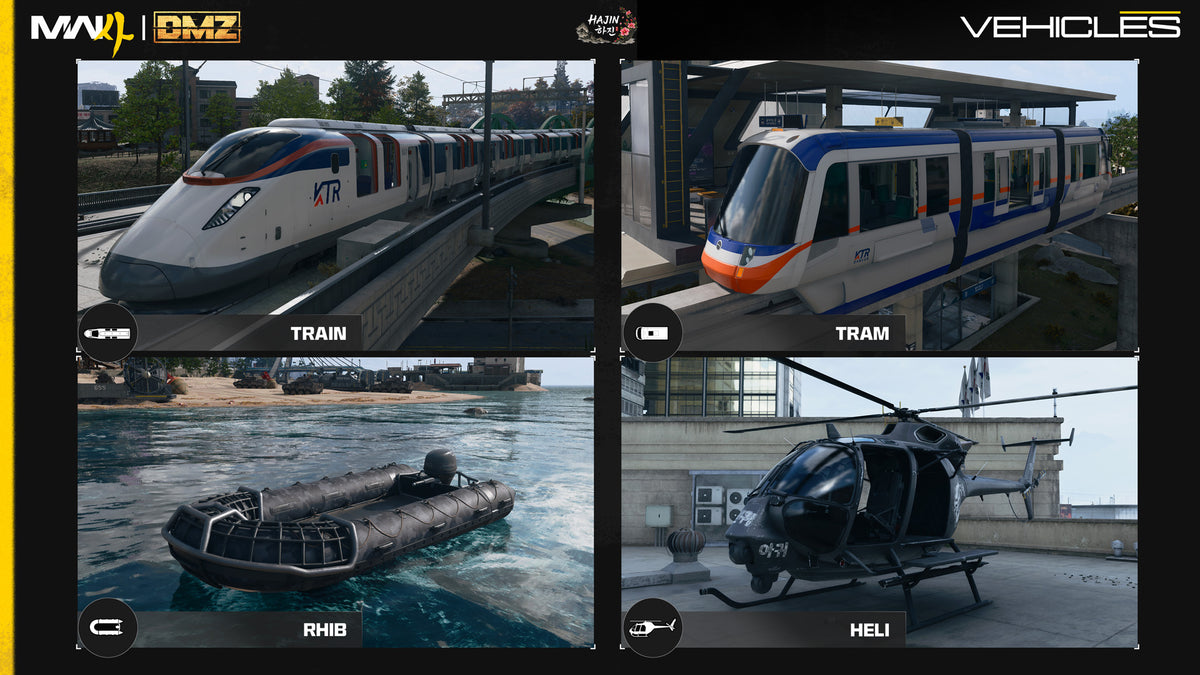
Every vehicle has limited armor and fuel, which is different from Warzone. Repair and refuel at Gas Stations, and boats at Marine Gas Stations; both refill Gas Cans. The Train and the Tram run on their own.
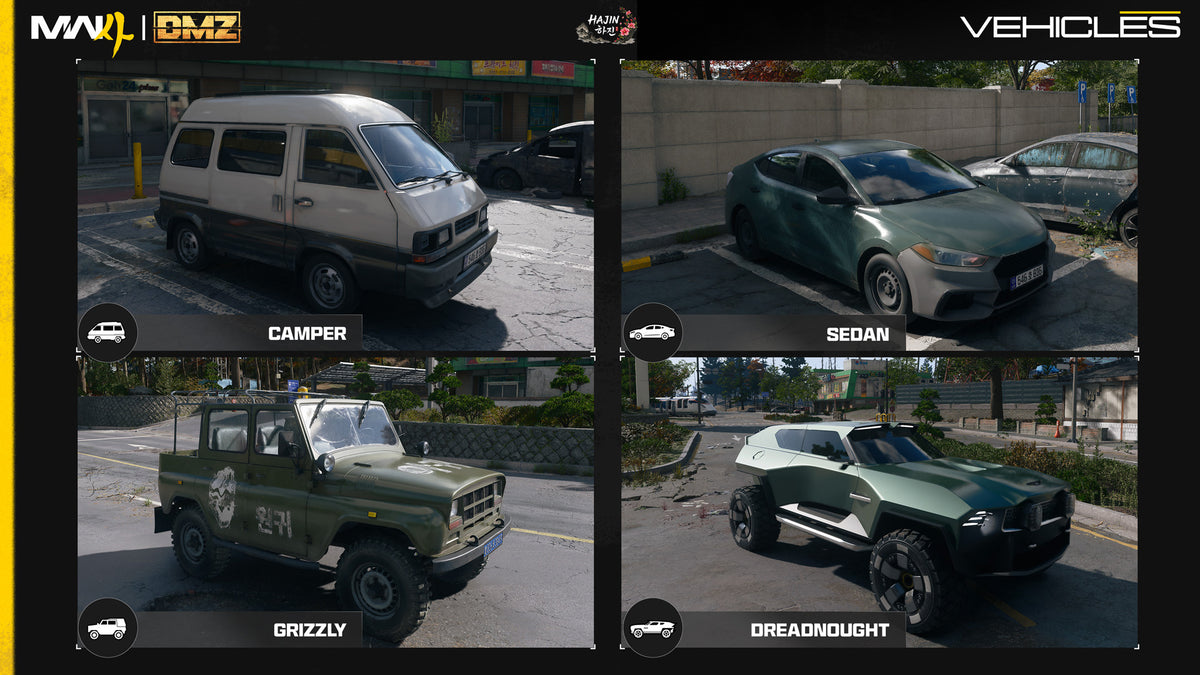
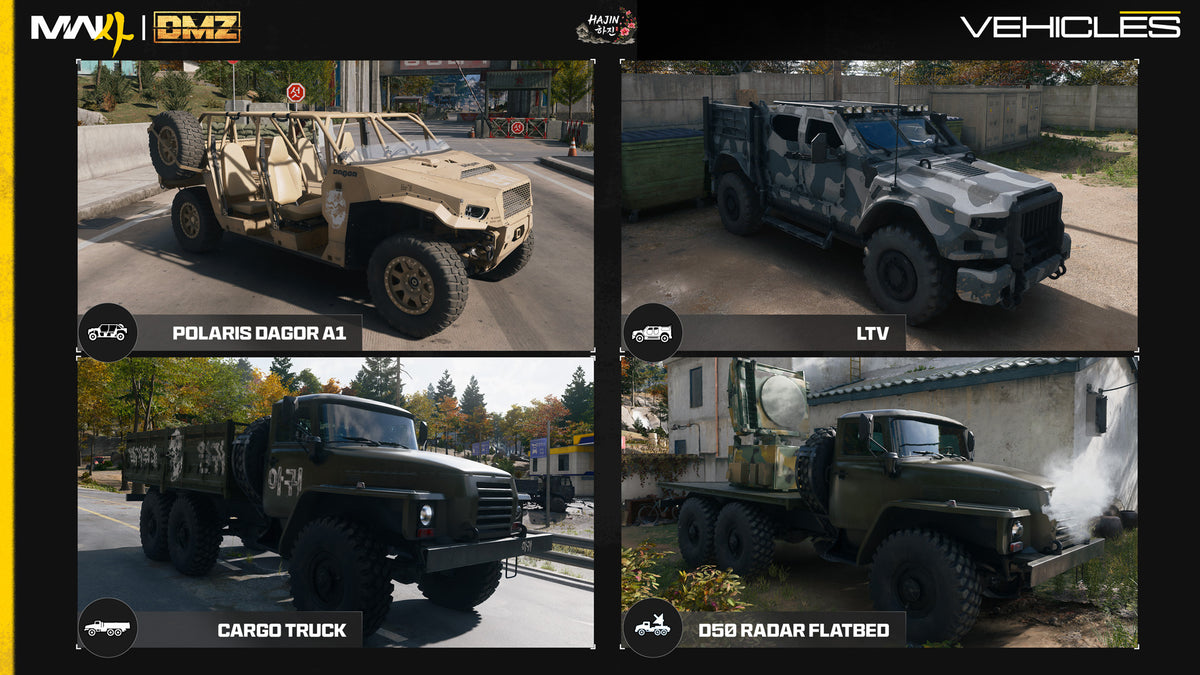
Vehicles in DMZ
| Vehicle | Type | Notes |
|---|---|---|
| Camper | Ground | Unarmored; moves a squad |
| Sedan | Ground | A civilian car, not for combat |
| Grizzly | Ground | Light armor, fast and agile |
| Dreadnought | Ground | An armored AWD SUV that is fast off-road |
| Polaris Dagor A1 | Ground | A full-squad off-roader (5,000 infil) |
| LTV | Ground | Optional mounted .50 Cal (25,000 infil); found in compounds |
| Cargo Truck | Ground | Two seats and a flat cargo bed |
| D50 Radar Flatbed | Ground | Carries a vehicle-mounted UAV |
| Train | Rail | Automated; links South Korean POIs |
| Tram | Rail | Automated monorail loop around Hajin City |
| RHIB | Water | A fast special-ops inflatable |
| Heli | Air | A twin-engine combat helicopter (50,000 infil) |
| Heavy Chopper | Air | Armored transport with flares; hovers on autopilot if the pilot leaves |
| Monarch | Air | A twin-rotor heavy-lift helicopter for infil and exfil, not player-flown |
Bosses: Lieutenants and Commanders
There are two kinds of boss in DMZ. Lieutenants are tougher than normal soldiers, carry unique loadouts and sometimes bring escorts. Commanders are the big fights.
Lieutenants
To find one, climb a Lieutenant Hunt tower and use the station at the top, which marks the nearest Lieutenant and counts as a Side Op. A kill pays big XP and cash, has a rare chance of dropping their weapon, and may drop a Key to their loot room.
A Lieutenant always drops a Dog Tag Case. Picking it up shows your position to everyone, so plan to exfil quickly.
Extracting the case moves your Boss Board forward, even if you took it from another player. At the Boss Board you can buy intel on a Lieutenant for cash, which lasts one deployment, once you finish a set of challenges.

Commanders
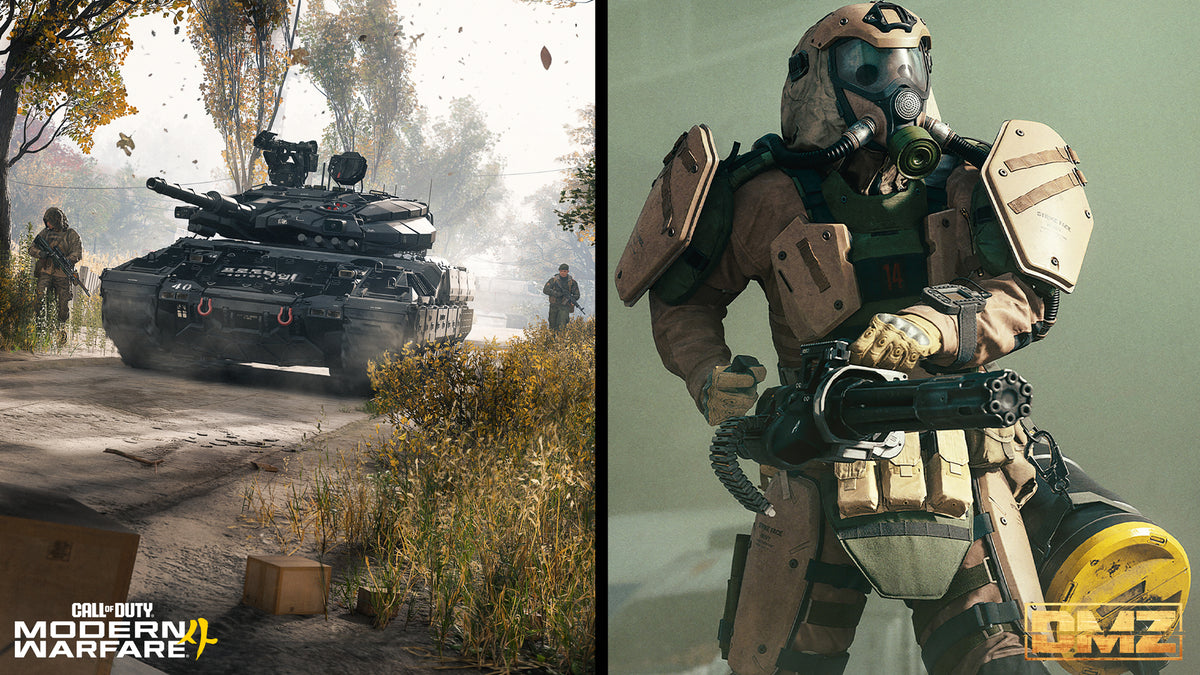
Commanders are always somewhere on the map: Colossus, Deathstalker and the North Korean battle tank. They show up when you get close, and your Team Leader warns you. You can't buy intel on them.
The first kill of each pays cash, and extracting after a kill earns prized printer ingredients. Many standard weapons barely scratch them, so it takes some tactics. A captured SAM site fires at enemy aircraft for you, which is great against Deathstalker, but walk too far away and the enemy takes it back.
Colossus
A seven-foot armored soldier with a minigun that fires depleted uranium rounds
Deathstalker
A helicopter-sized autonomous drone with two machine-gun turrets
NK Battle Tank
A North Korean battle tank patrolling on high alert
Lieutenants named so far
| Boss | Detail |
|---|---|
| Gorani | Named in a story section. Works the woods above Hanrim Village in ghillie camouflage, with a water-deer skull over his face and an M4. His escorts ambush from the brush. |
| Bale | Named in a story section. Based at Chang-san Air Base, a Spetsnaz veteran who trains NK forces and keeps them in line, with elite troops on the approaches. |
| The Warden | Named in a story section. Works the northern hills, and once dropped a Key to a sealed door under NuriGO Mall. |
Only three Lieutenants are named so far, so the full roster is still open, and so is what unlocks Lieutenant intel. The two guides also disagree on whether a Lieutenant's weapon is guaranteed: one says you claim it, the other calls it a rare drop that may sit in their loot room.
Bounties and PvP
How much you fight other players is up to you. Use proximity chat, call a Truce on the ping wheel, or team up. If a fight does start, player kills feed a bounty system.
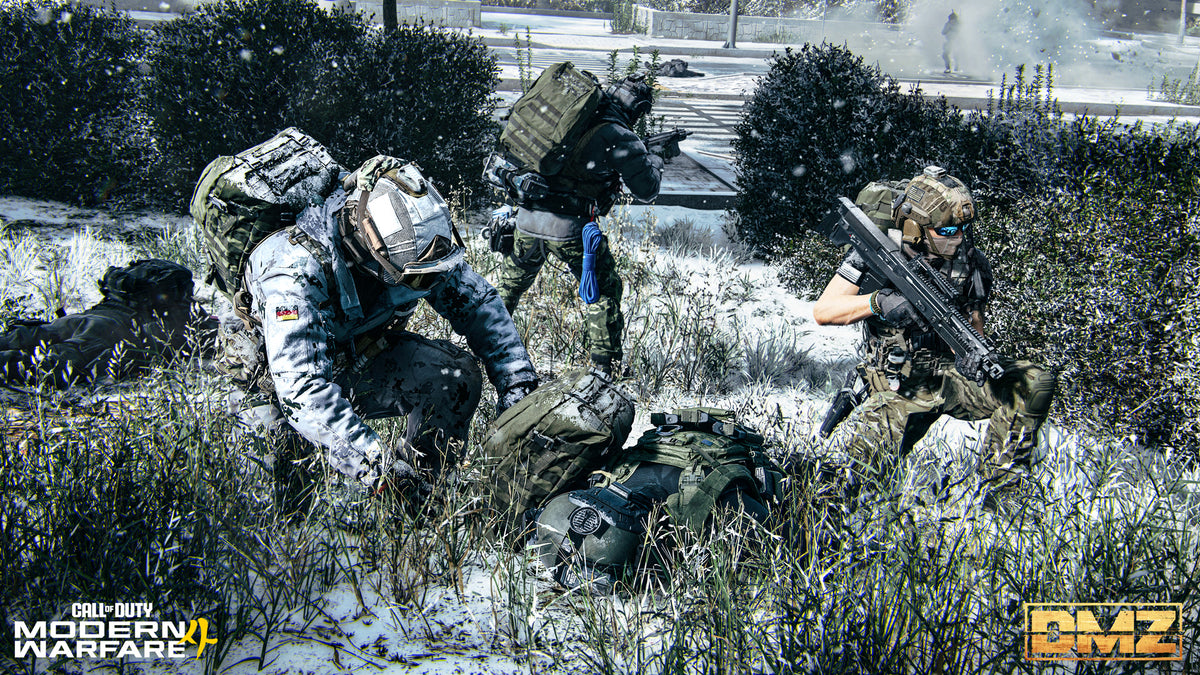
Kill a player and you get a Bounty, a price on your head, shown on your Dog Tag. Four player kills across deployments makes you Wanted, and nearby players get an alert when you're close. To hunt a target, buy intel at a Bounty Station, kill them and extract with their Dog Tag.
How the bounty system works
| Rule | Detail |
|---|---|
| Get a Bounty | Kill a player. It shows on your Dog Tag with your player-kill count. |
| Wanted | 4 player kills across deployments. Nearby players get an alert, and more kills raise your Wanted state. The biggest bounties top the FOB leaderboard, and the top Wanted level is visible to everyone. |
| Growth | Also weighs who fired first, being outnumbered and more |
| Lose it | You die and fail to exfil, someone extracts with your Dog Tag, or you pay it off at a Bounty Station |
| Hunt | A Bounty Station gives a free list of Wanted players. Paid intel puts a circle on the Tac-Map, and it costs more and updates faster the higher the target's Wanted level. |
| Claim | Kill them and extract with their Dog Tag. The payout scales with the bounty, plus a bonus at max Wanted. |
| Leaderboard | Top 50 Most Wanted (weekly) and Top 50 Bounty Hunters, global or friends |
Dying, MIA and what you keep
- Wounded. A Bandage raises your max health for a while. A Medkit repairs the wound and restores full health.
- Last Stand. You're down but not out. A Medkit's tourniquet gets you back up, and Self-Revive kits have their own Loadout slot.
- MIA. You died, and the Operator can't deploy until you pay DMZ Cash from your Bank to recover it with its Traits (more Traits cost more). It comes back without gear, or you can dismiss it and start fresh.
Everything outside a Secure Slot is lost, but the XP you earned still counts. Other players can take your Dog Tag, and if they extract with it, it goes into their Dog Tag Case.
What about insurance? The Vault Deployment Kit includes Weapon Insurance Contracts, but neither guide explains what they do. For now, Secure Slots are the way to protect an item.
How to exfil
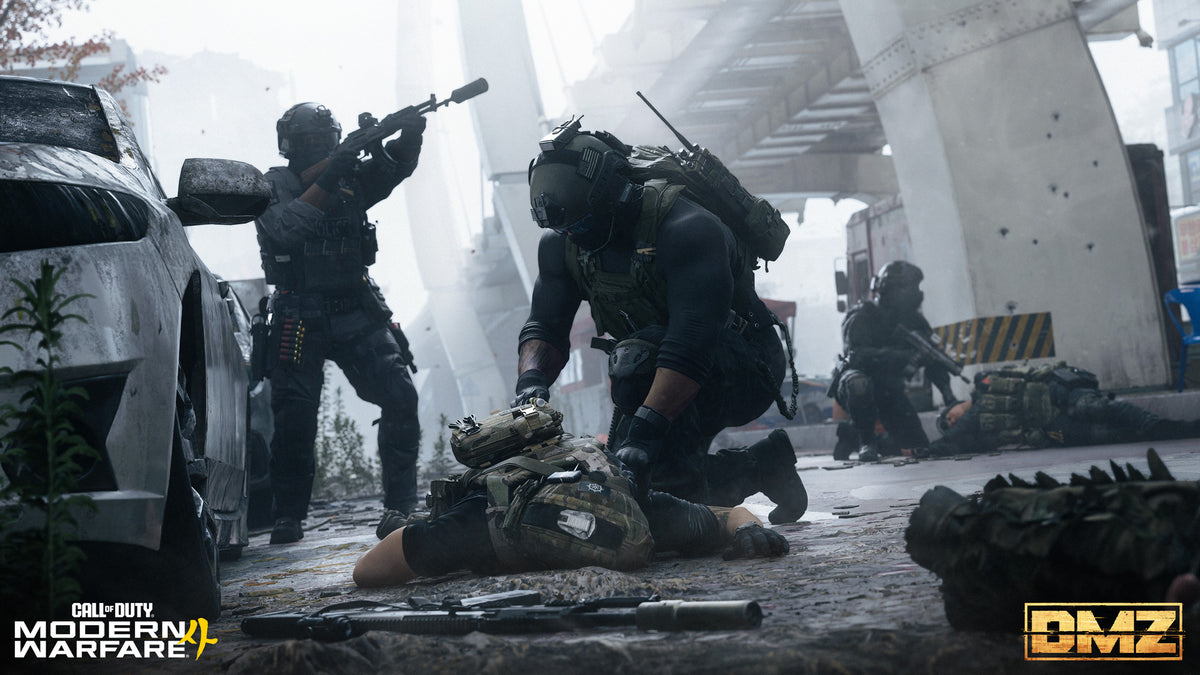
- Pick an exfil site. They come from a pool, and you spot one by its green smoke.
- Check the area first. Other squads like to camp exfils.
- Call the Twin Heli and hold the site. Enemy pressure builds until it lands.
- Board it, and what you carried comes home with you.
There are other ways out: a Fulton balloon or a Flare. Flares are loud and visible from far away, so expect company.
Any Recipe or Weapon Manual in your bag is used up when you exfil. It unlocks automatically and pays 5,000 DMZ Cash each.
After Action Report
After every run, whether you got out or not, the After Action Report walks through it page by page, from your haul to your rating. Each DMZ level you gain unlocks something, and each Operator Dog Tag level is a Trait Point, so a big run can earn more than one.
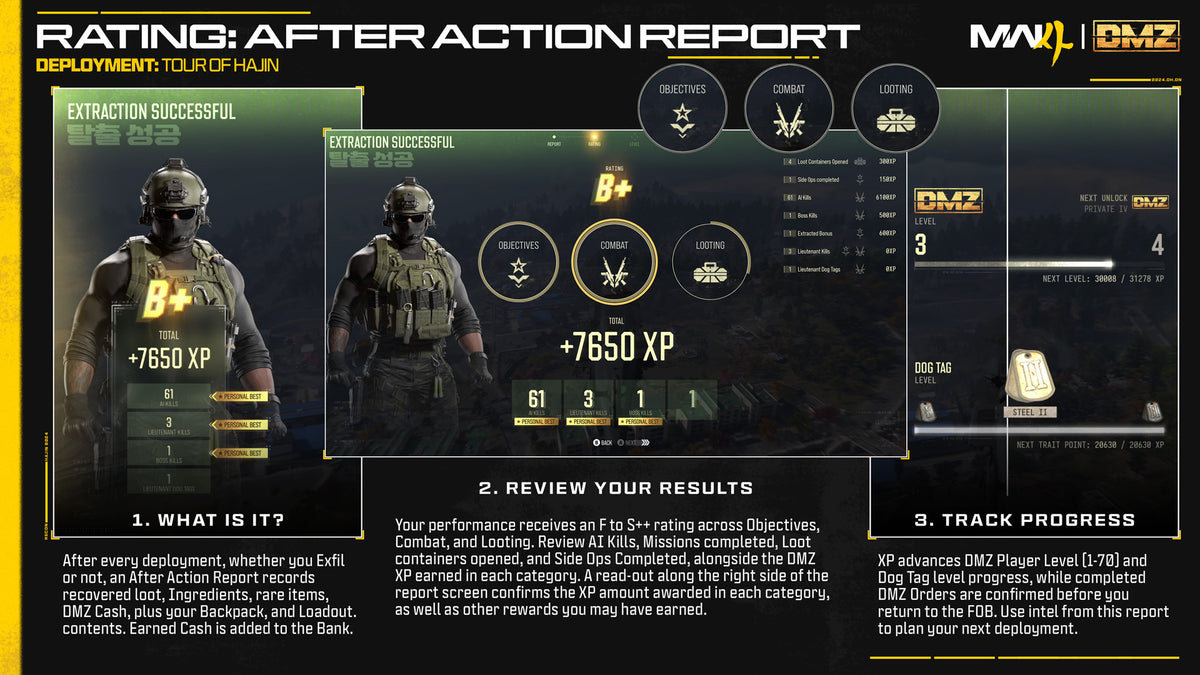
The After Action Report pages
| Page | What it shows |
|---|---|
| Report | Items, valuables, printer ingredients, rare items and cash from ops; total cash sent to the Bank; Backpack and Loadout contents |
| Rating | F to S++ from Objectives, Combat and Looting, with totals for AI kills, missions, containers opened and Side Ops, and the XP each paid |
| Level | Your DMZ level (1 to 70, with an unlock every level) and the Operator's Dog Tag (18 levels, a Trait Point each) |
| Summary | Orders you completed and their rewards, then weapon level-ups back at the FOB |
3D Printer: your first recipes
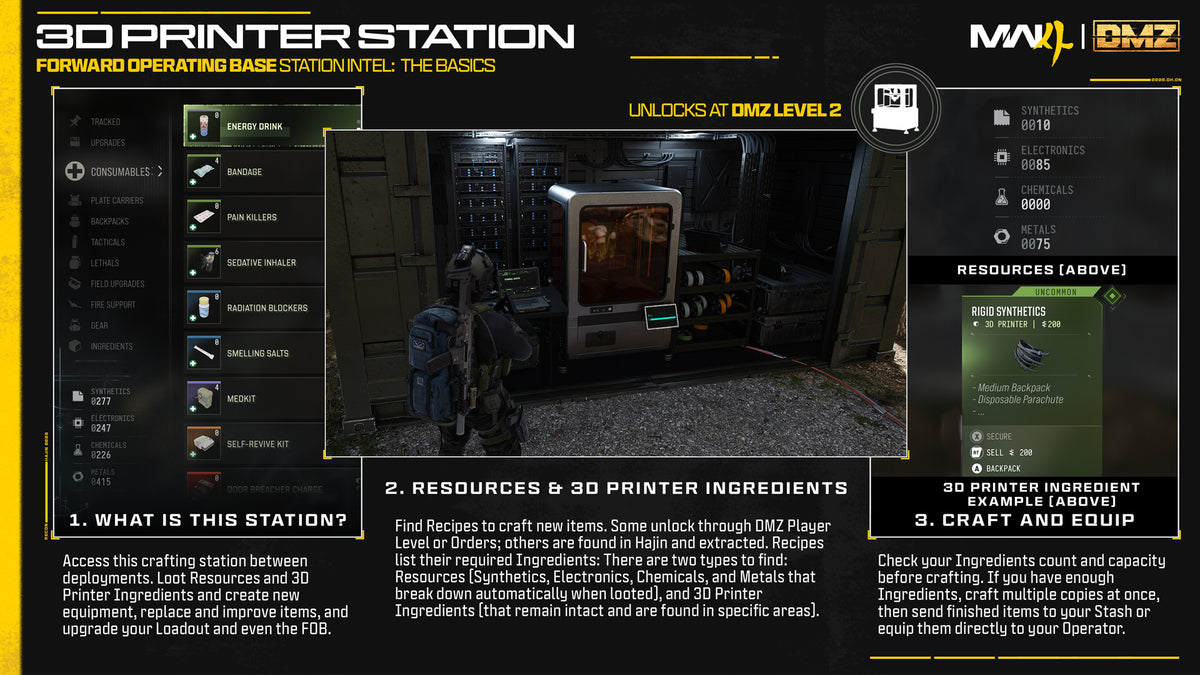
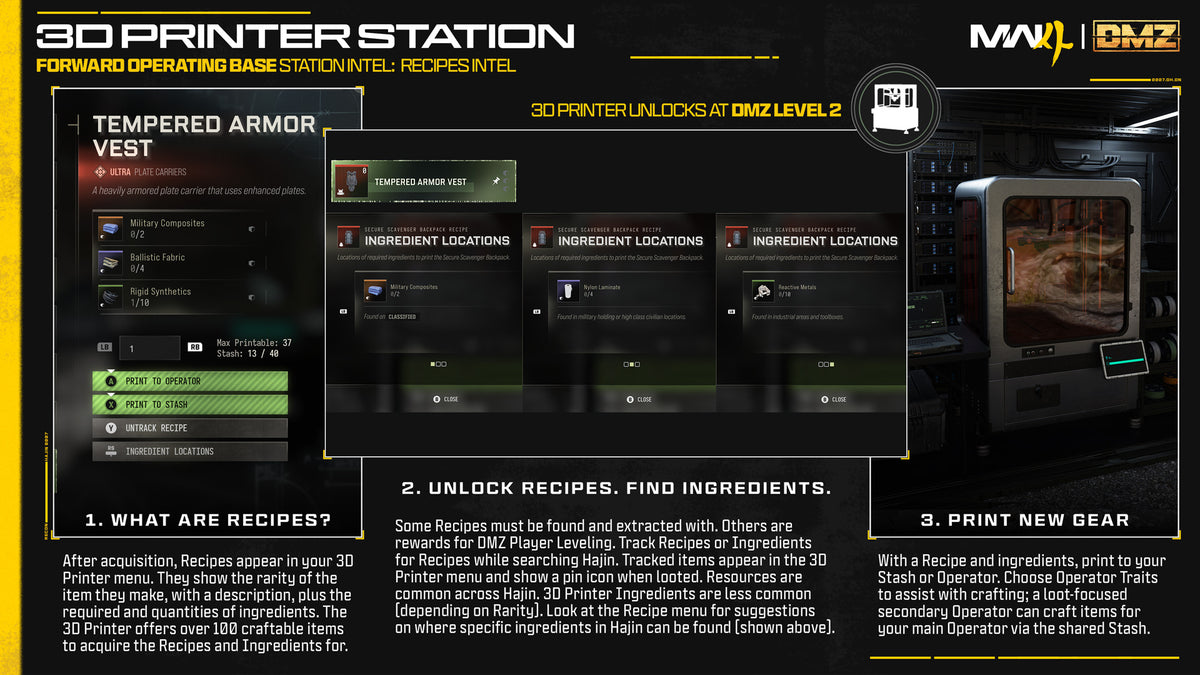
The 3D Printer unlocks at DMZ Level 2. To craft anything you need a Recipe, Resources and Ingredients. Recipes come from DMZ levels, Orders, or extracting with them.
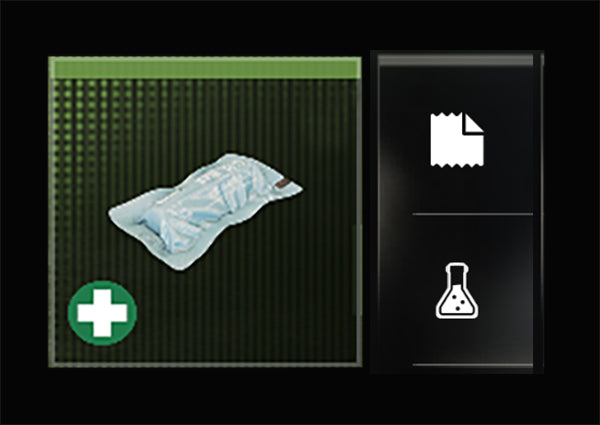
Bandage
Temporarily raises your max health while you're wounded
15 Synthetics15 Chemicals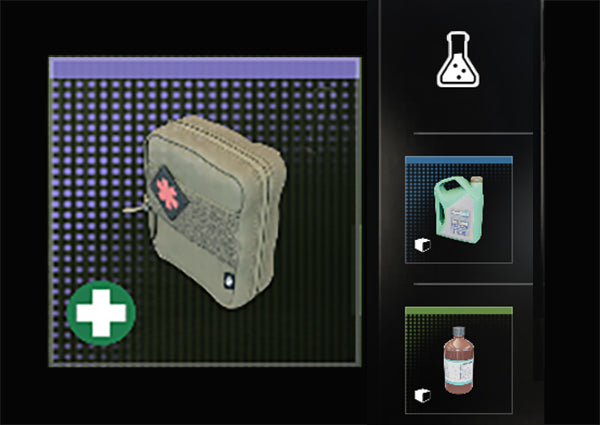
Medkit
Repairs wounds, restores full health and gets you up from Last Stand
30 Chemicals1 Binding Catalyst (Rare)5 Biomaterials (Uncommon)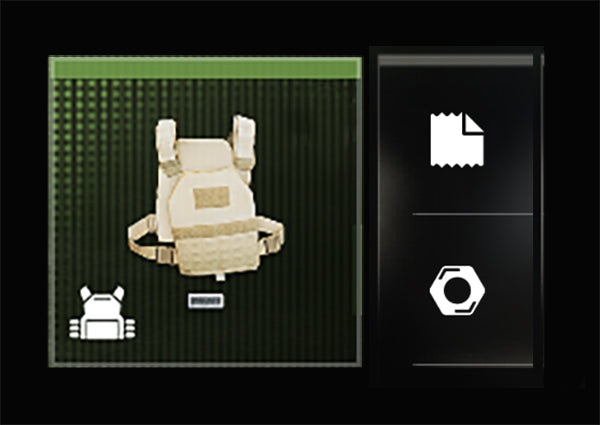
1-Plate Armor Vest
A carrier for one plate
25 Synthetics25 Metals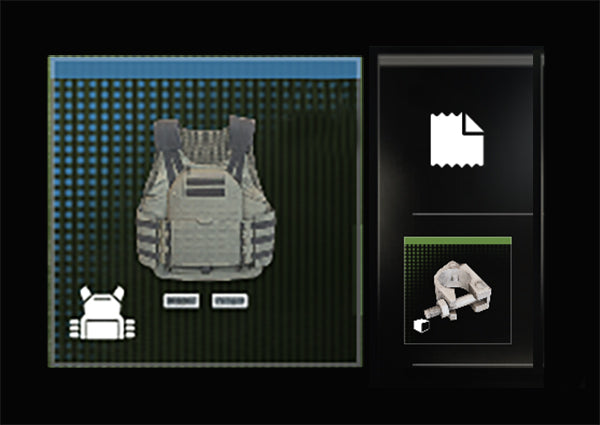
2-Plate Armor Vest
Two plates, and more durable
50 Synthetics5 Reactive Metals (Uncommon)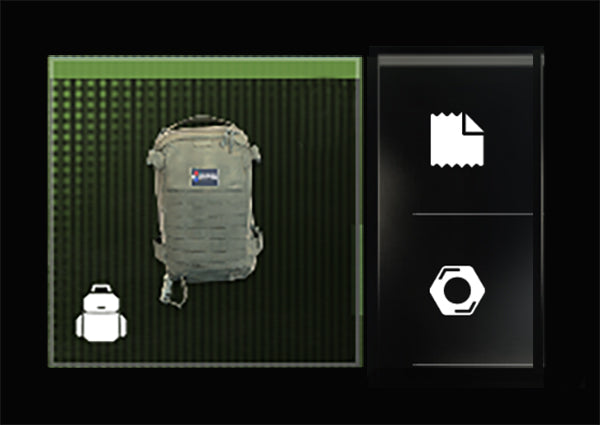
Small Backpack
Extra item slots
25 Synthetics25 Metals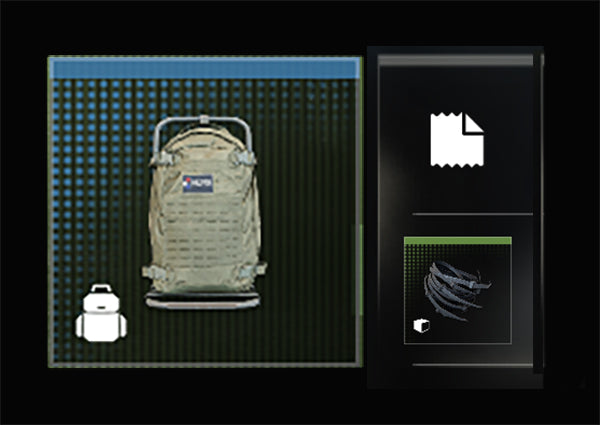
Medium Backpack
Extra slots plus Secure Slots
50 Synthetics5 Rigid Synthetics (Uncommon)
Pin a recipe to track it, and its ingredients show a pin icon when you loot them. You can craft several items at once and send them to the Stash or straight onto your Operator.
More detail
The printer's tabs are Upgrades, Consumables, Plate Carriers, Backpacks, Tacticals, Lethals, Field Upgrades, Fire Support, Gear and Ingredients. With printer upgrades you can print rarer Ingredients instead of looting them.
What unlocks later
DMZ Progression is its own track from 1 to 70, with an unlock at every level. DMZ XP also counts toward your 1 to 55 player level, but Multiplayer and Warzone XP don't count toward DMZ.
Vendor, Gunsmith and Dog Tag Case
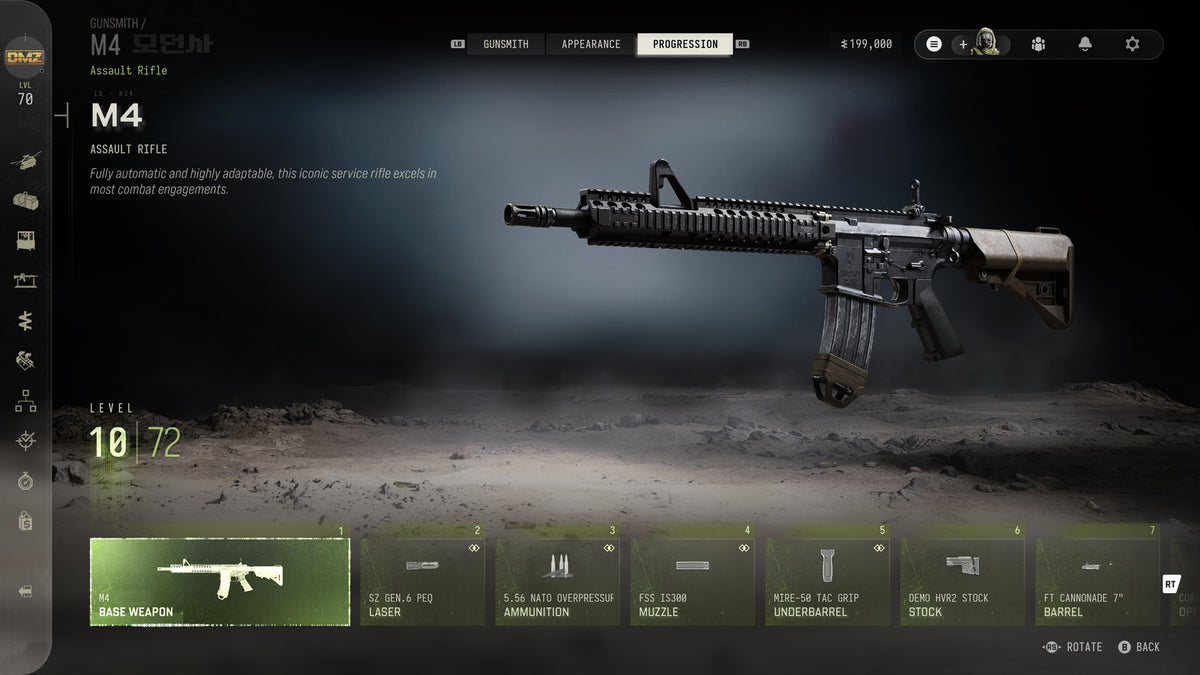
The Vendor opens at Level 5 and sells guns and gear for DMZ Cash. Its stock refreshes over time and gets better as you level. The Gunsmith opens at Level 10: you extract with a gun's Weapon Manual once, then buy it as often as you like.
A base M4 costs about 5,000, and Gunny will make a build for you if you can't decide. The Dog Tag Case opens at Level 20 and holds the tags from players you killed and extracted with.
The Gunsmith and weapons
| Rule | Detail |
|---|---|
| Unlock | DMZ Level 10 |
| Buying a gun | Extract with its Weapon Manual once, then buy it as often as you like |
| Extracted guns | Any gun you exfil with can be modded as a single copy; losing it doesn't unlock that model |
| M4 example | Base cost about 5,000, with 5 attachment slots plus an Apex slot and 72 weapon levels |
| Attachment slots | Bought in any order, and each one costs more. The attachment itself also costs cash and has to be unlocked. |
| Apex slot | Free once you've leveled the gun to it |
| Attachment cap | 5 on Gunsmith builds, up to 8 on looted guns |
| Progression | Shared with Multiplayer. A shared attachment unlocks once, and repeat levels become Bonus Level Ups. Weapon Prestige exists. |
| Blueprints | Free once in DMZ; lost ones are rebought at a discount. Camos, charms, decals and stickers are free. |
| Weapon count | 32 at launch: 8 ARs, 5 SMGs, 2 shotguns, 3 LMGs, 3 marksman rifles, 3 snipers, 4 pistols and 4 launchers (launchers take no attachments) |
| Where guns come from | The Free Loadout, Stash, Gunsmith, Weapon Manuals, Vendor, enemies, Lieutenants, dead players, military containers and Blueprints. Weapon Backpacks add a third gun slot. |
Operator Prestige
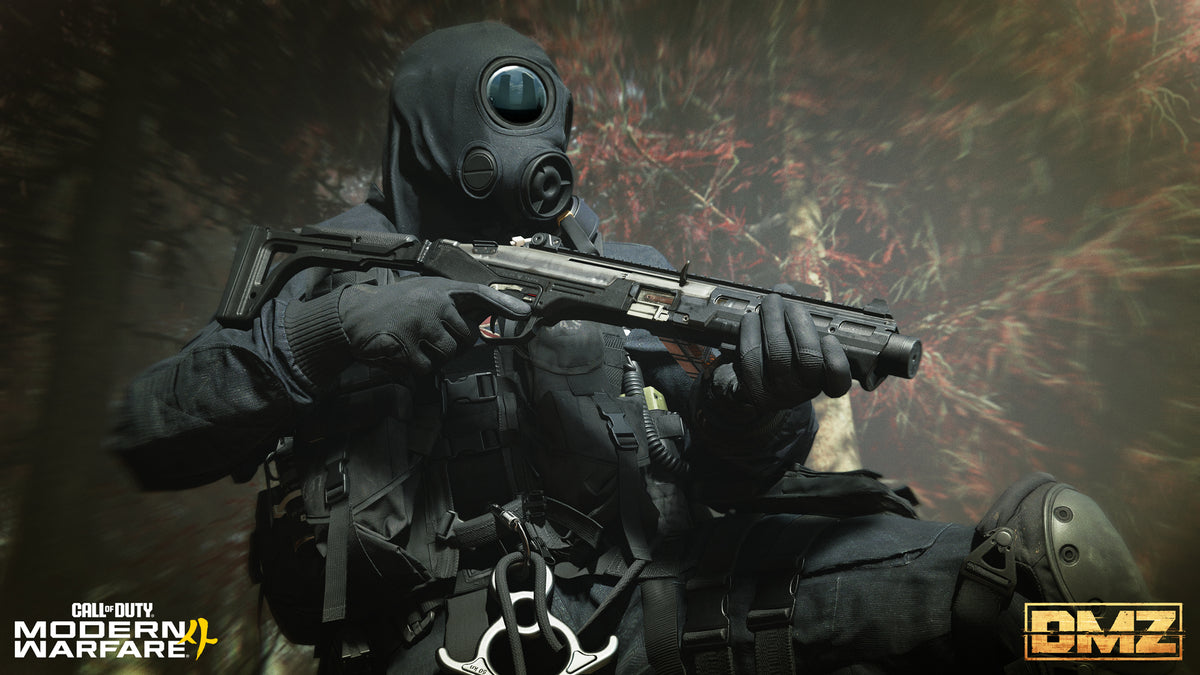
Once an Operator has earned all 18 Trait Points (Onyx III), you can Prestige it, as long as it isn't MIA. You hand in gear and cash, the Traits reset, and you get a random Permanent Prestige Trait. It's separate from your Multiplayer prestige and from your DMZ level.
Operator Prestige requirements
| Prestige | DMZ Cash | Weapons | Carrier | Backpack | Ingredients |
|---|---|---|---|---|---|
| 1st | 200,000 | 2, Rare or better, with 3 attachment slots | Rare | Rare | 4 Rare |
| 2nd | 300,000 | 2, with 4 attachment slots | Epic | Epic | 4 Epic |
| 3rd and after | 500,000 | 2, with 4 attachment slots | Legendary | Legendary | 4 Legendary |
The required gear goes in your Loadout and Backpack and is used up, so empty out anything else you want to keep first. Each Prestige gives a random Permanent Trait, up to three. From Prestige 4 on, you're offered another one: swap out one of your three, or keep what you have.
Permanent Traits stay with that Operator even if you dismiss it, move it to another slot or change its skin. Prestiging several Operators also earns Calling Cards and classified rewards. The guide doesn't give the weapon rarity for the second Prestige and later.
10 tips for your first week
- Put your best find in a Secure Slot Anything outside one is lost if you fail to exfil, and the Medium Backpack adds Secure Slots.
- Keep deploying XP counts even when you die.
- Use the free Ground infil at first and save your DMZ Cash The other options cost 5,000 to 100,000.
- Carry every Recipe and Weapon Manual out Each pays 5,000 DMZ Cash on exfil.
- Climb a Lieutenant Hunt tower to find a Lieutenant It marks the nearest one.
- Exfil right after you grab a Dog Tag Case Picking it up shows your position to everyone.
- Keep an eye on the Hostiles Kill Count Once it's full, a Hunt Squad comes for you.
- Check a place's Threat level before you land It only counts AI, but it tells you how tough the enemies are.
- No squad tonight? Turn on Squad Fill and it adds two random players.
- Start a Dynamic Op early Each Supply Drop in a deployment is better than the last.
Questions
When does MW4 DMZ come out?
DMZ Early Access starts Tuesday, October 20, 2026, for anyone with a digital pre-order or pre-purchase of the Standard Digital or Vault edition. The full launch of Modern Warfare 4 is Friday, October 23. Campaign Early Access already started on Friday, October 16.
How do I get DMZ Early Access?
Digitally pre-order or pre-purchase Modern Warfare 4, either the Standard Digital or the Vault edition, on any platform it's coming to: Xbox Series X|S, Xbox on PC, PlayStation 5, Battle.net, Steam or Nintendo Switch 2. The Vault edition adds a third Operator slot.
Is MW4 DMZ free?
DMZ is a mode inside Modern Warfare 4. The official guides don't describe a separate free version, and Early Access needs a digital pre-order.
Can you play MW4 DMZ solo?
Yes. You can deploy alone or with a squad. If you'd like company, Squad Fill adds two random players, and you can switch it on or off at Ready Up.
How many players are in a DMZ squad?
The guides don't say outright. Squad Fill adds two random players, which points to a squad of three, but there's no number for the maximum or for how big you get after joining up with another squad.
Where does MW4 DMZ take place?
It takes place in the Hajin Exclusion Zone, set in Korea. The western wilderness used to be North Korea and the rest was South Korea. The zone has more than 60 named locations, and the deep dive gives 13 points of interest their own Threat level.
Is DMZ PvP?
It's both. Computer-controlled forces are everywhere, and rival squads share the map. You can talk on proximity chat or call a Truce. Kill four players across your deployments and you become Wanted, which alerts nearby players. Threat levels only count AI.
How do I start DMZ?
At the FOB, walk to the Deploy station and open the menu. Pick Story Missions, Dynamic Operations or Free Roam, then choose an infil. Ground infil is free. Finish at Ready Up, where you check your Loadout and Operator and turn Squad Fill on or off.
How do you exfil in DMZ?
Head to a green-smoke exfil site, call the Twin Heli and hold the area until it lands. Check for camping squads first. A Fulton balloon or a Flare are other ways out. Anything outside a Secure Slot is lost if you don't make it.
What happens when you die in DMZ?
Your Operator goes MIA, and you lose everything outside your Secure Slots. At the FOB you can pay DMZ Cash from your Bank to bring them back with their Traits, or dismiss them and start a new one. The XP you earned still counts.
How do you level up fast in DMZ?
DMZ Progression runs from 1 to 70, and DMZ XP also counts toward your 1 to 55 player level. Looting containers, Dynamic Ops, Side Ops, Lieutenant kills and player kills all pay XP. Multiplayer and Warzone XP don't count toward DMZ.
Does DMZ have a loadout?
Yes. The Stash holds 40 items and 12 weapons to start, and you build your Loadout from it. There's a Free Loadout on the Ready Up screen too, and you keep it if you extract.
Is there a secure backpack in MW4 DMZ?
Upgraded backpacks add Secure Slots, which keep an item even if you fail to exfil. The Medium Backpack is a 3D Printer recipe: 50 Synthetics and 5 Rigid Synthetics. The guides don't say how many Secure Slots it has.
Does MW4 DMZ have weapon insurance?
The official guides don't explain insurance. The Vault edition's Deployment Kit includes Weapon Insurance Contracts, but nothing says what they do. So far, Secure Slots are the way to protect an item.
When does the Gunsmith unlock in DMZ?
At DMZ Level 10. To build a gun you first have to extract with its Weapon Manual, and after that you can buy it as often as you like. A base M4 is about 5,000, and the attachment slot prices aren't published yet.
How do Traits work in DMZ?
Each Operator earns one Trait Point per Dog Tag rank, 18 in all, and spends them across the Warfighter, Scout and Survivalist trees, with at most 9 in one tree. Picks are permanent for that Operator until a Prestige resets them.
Still checking in game
The guides leave these open. I'll check each one once Early Access starts on October 20, and this list shrinks with every update.
Open questions
- How long a run lasts before the storm forces you out
- The biggest squad you can have
- What a Weapon Insurance Contract actually does
- What an Operator Rescue Beacon does
- How the Fulton Drop Marker differs from the Fulton balloon
- Backpack slot counts, and how many are Secure Slots
- The cap on your Bank
- The DMZ Cash price of an MIA rescue
- How many AI kills fill the Hostiles Kill Count
- What the Free Loadout contains
- The full list of Lieutenants and where they roam
- Which challenges unlock Lieutenant intel
- What each Gunsmith attachment slot costs
- The other 45 Traits
- Level-by-level unlocks up to 70, including the third Operator slot
- How many Story Missions there are
- Whether Loadout weapons are lost on death
- The price to pay off a bounty
- Whether a Lieutenant's weapon is guaranteed (the guides disagree)
- When the Bounty Leaderboard and DMZ Progression open (the guides disagree)
- What weapon rarity the second and later Prestiges need
- Where Self-Revive kits come from
- Whether the Events station is open at launch (the guide's text and its picture disagree)
- How often the Vendor stock changes (the guides differ)
- Whether the Monarch is the exfil helicopter
- How exfil timing works and how many exfils are open at once
- Whether anything new is said about DMZ being free, which I'll re-check at launch
Sources and updates
Everything above is restated from two official Call of Duty posts, which have the full detail.
Images: Activision, from the two official MW4 DMZ blogs.
Change log
- Oct 19, 2026: first version, from the official DMZ guides.
If you'd like to see what I'm up to between updates, my latest videos are on the site.